Clash of Critters Horde Invasion Tier List
Horde Invasion Season 2 Role Tier List
Build your Season 2 Horde team with core tanks, boss damage, healing, and control. Compare 54 Tatari by role, positioning, and upgrade cost.
Horde Invasion Season 2 Role Tier List
Season 2 picks by Horde job, with positioning, co-op pairings, and Candy priorities. Each T3 name represents its evolution line; Lv. means the level inside a run. T4 and D4 recommendations need the investment stated, not just the same role.
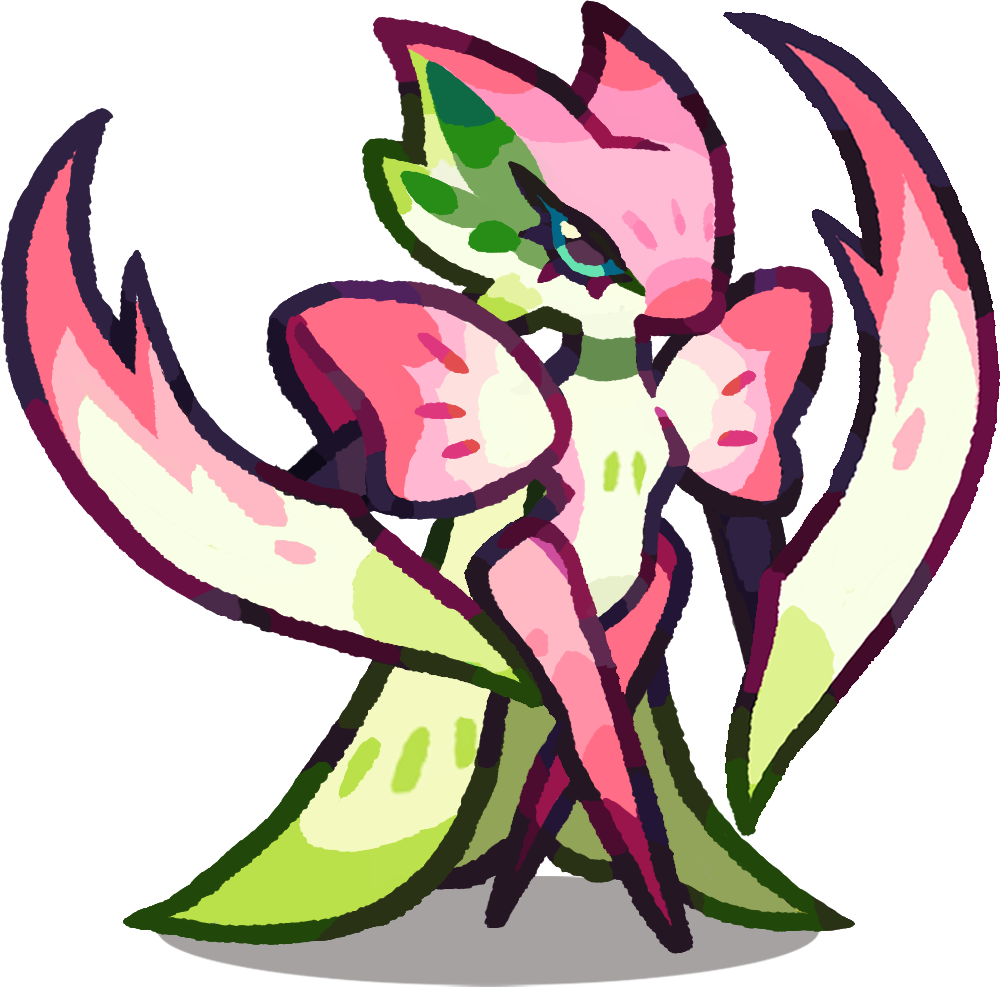 SerrabloomPurpleTank
Build the frontline around its Worm matchup, self-healing, and Fragile. Both players can use one when the final boss is the blocker. Keep healing support behind it so it can hold its lane through repeated attacks.
 DreadclawGuardian
A durable Water frontliner with self-healing and shielding. Prefer one on the left player's far-left edge so the claw sweep travels across the board; coordinate that slot before adding a second copy. Its Water coverage helps balance a Fire-heavy frontline.
 BlitzmanePurpleGuardian
Hold a front slot with Lightning damage, Knockback, and nearby damage boosts. Place useful attackers within its support range. It covers a different element from Serrabloom and Lickflicker while helping the formation clear crowded lanes.
 RockshellPurpleGuardian
Front-row shielding protects more than its own lane: Lv.5 adds bouncing shields, while Lv.7 raises its piercing damage payoff. The strongest D4 case needs an invested T4 form. At lower investment, value the shields first rather than expecting carry damage.
 LickflickerRedGuardian
Wide Fire damage, Burn, Slow, and Stun give one front slot several jobs. Its base toolkit still matters after the Lv.7 damage reduction and longer Stun cooldown. Pair it with other elements instead of filling every frontline slot with Fire.
 ThornwispRedDPS
Poison and Bane provide sustained boss damage without relying on the Lv.7 burst alone. Keep it behind a stable frontline so the stacks have time to work. Both players can bring one when boss damage is the main shortage.
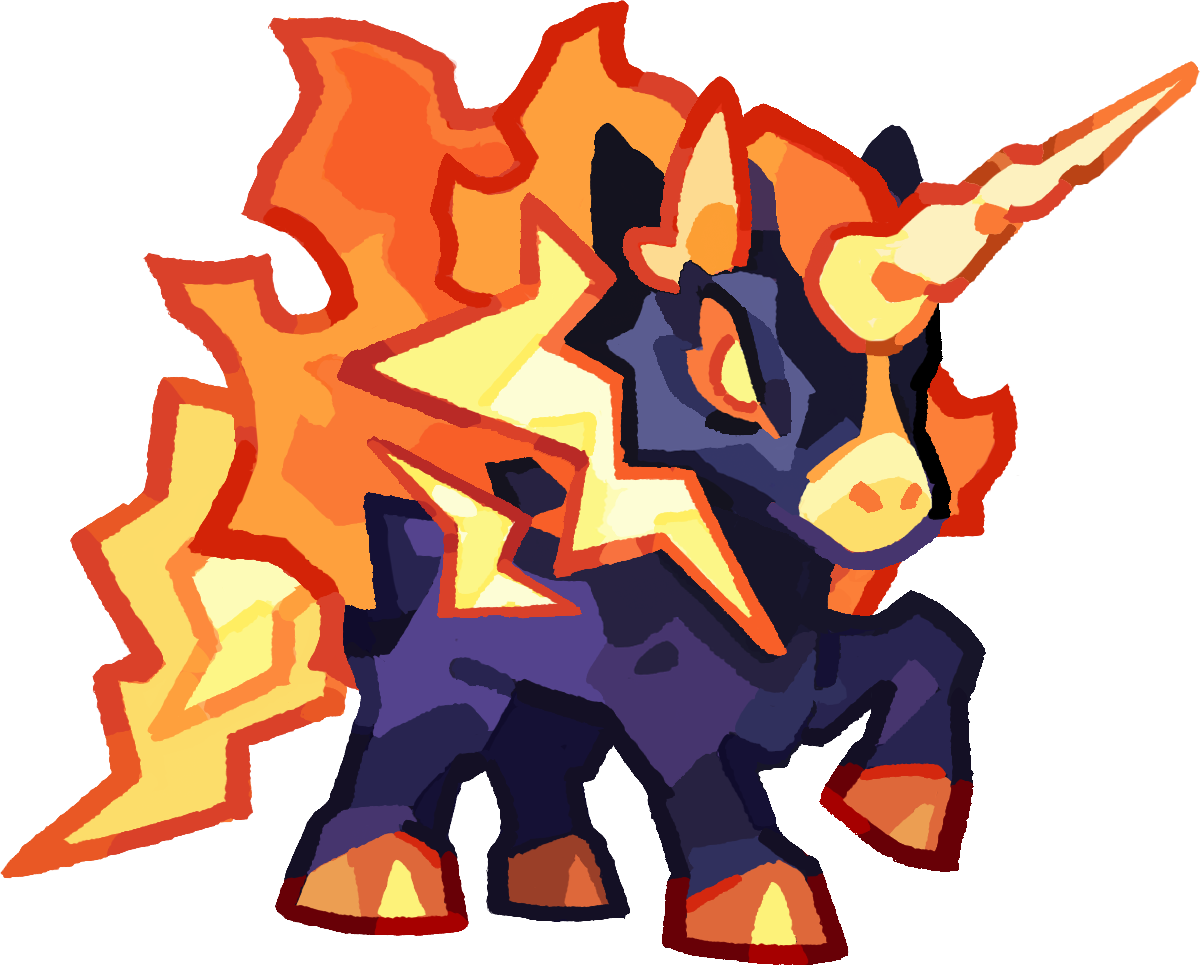 VoltmareRedDPS
Lv.5 gives steady Lightning output from a safe back or corner slot. Its targeting becomes especially useful when only a few bosses remain; Lv.7 adds more payoff. Cover missing Fire, Water, or Grass matchups before spending every damage slot on Lightning.
 AzurionPurpleDPS
Prioritize Lv.5 for repeated fire-orb damage; the Lv.7 burst is not its whole value. Waveflutter fits beside this damage plan. Usually coordinate one Azurion across the pair, then use the other damage slot for a different element or boss answer.
 SeaswirlPurpleDPS
Water damage, Weak, and Lv.7 Knockback help the frontline survive. Keep it central so its Lv.7 waves cover five lanes rather than losing coverage against a wall. One well-placed copy is usually the better co-op starting point than two edge copies.
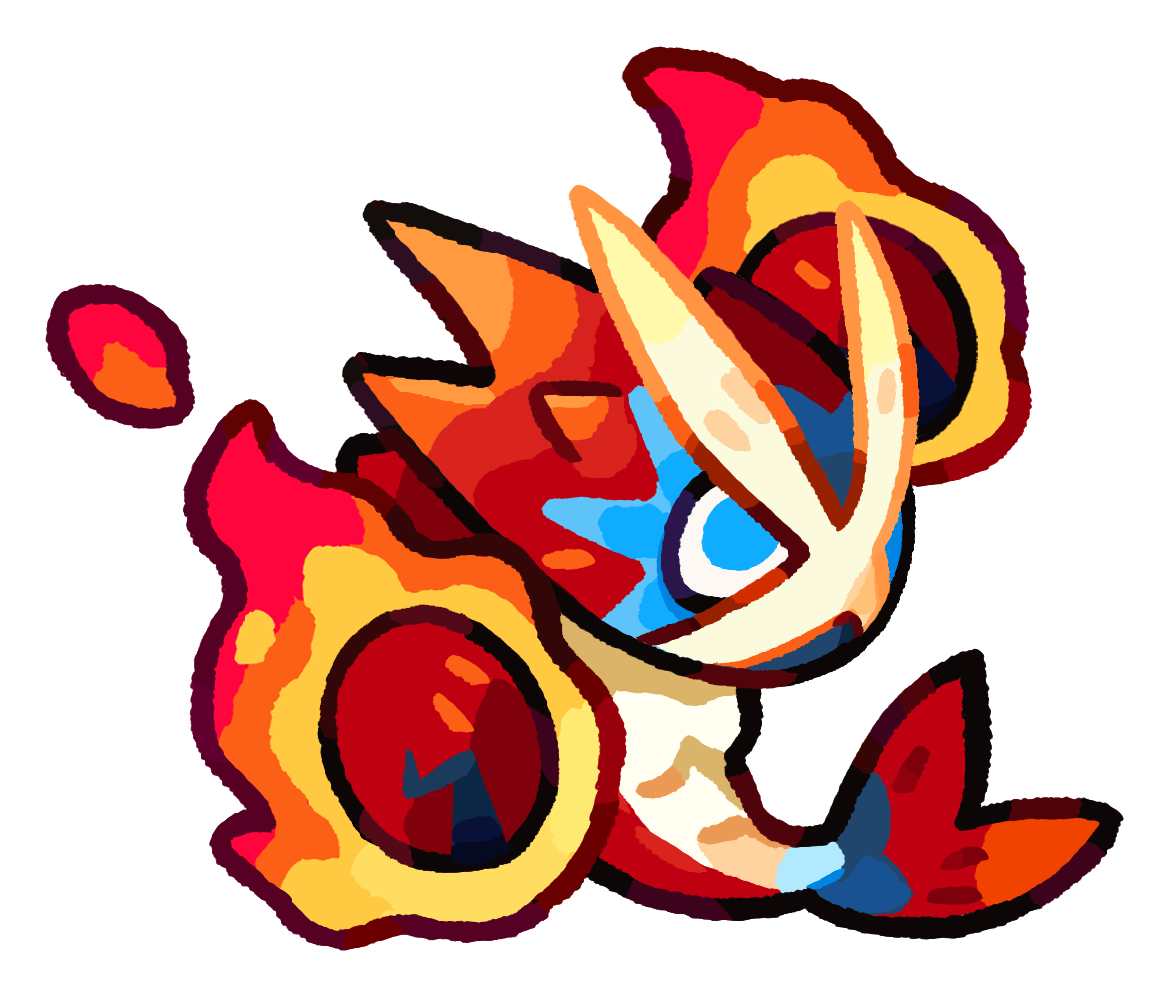 PyroclobsterDPS
Close-range volleys can land several projectiles on the same boss for strong Fire damage. Its D4 priority assumes a well-built T4 form with enough support to survive near the target. Do not move a low-investment copy forward just to chase that damage.
 CheerspringSupport
Aim for Lv.5 to combine healing and ATK/DEF boosts with emergency Invincibility. Keep it near the frontliners that need those saves. It remains a first support priority when pushing your difficulty limit, even with Aquariel supplying extra back-row healing.
 AquarielRedSupport
Healing, damage boosts, and damage reduction already help at Lv.1. Place it centrally behind your three lanes; both players can run one for coverage. Lv.5 adds piercing Fragile bubbles, while Lv.7 expands its reach. Secure basic sustain before chasing those upgrades.
 SolafloraHealer
Healing and ATK/DEF support give the middle row a clear job. Aim for Lv.3 to add shielding, then save Candy for an underleveled tank or damage carry. Place it where the allies taking repeated hits can benefit from its support.
 SonarbatSpecialist
Coordinate the Lv.3 bat swap with your partner: the ally-side boost is larger than the boost to its owner's team. Swapping positions lets both sides benefit. If the draft provides only one bat, pair its support with Hyphoria or Charflutter instead.
 HyphoriaSupport
Spore coverage, attack-speed support, and damage reduction help both damage and survival. Start with one shared co-op copy so the other middle slot can supply a different buff or heal. Kangachamp is a useful partner when its punching setup fits the frontline.
 WaveflutterDPS
Sleep and lane control buy time for tanks and damage dealers. Its T3 form already fills this job from the back, without needing a frontline-sized Candy budget. Pair it with damage such as Azurion and keep the formation ready to attack the controlled targets.
 TideonPurpleDPS
Use Slow and Fragile to support the whole damage plan. Before Lv.7, keep it central so its three-lane coverage does not lose a lane against a wall. Usually start with one across the pair and spend the freed slot on healing or another element.
 CharflutterTank
Healing, ATK and attack-speed boosts, plus Fragile keep it useful despite the lower flame trigger chance. It can cover the middle support slot when a bat swap is unavailable. Choose it for that package, not just its own damage total.
 ArmorjawTank
Assign one player to the boss-pull job and agree when the formation drops back a row. Pull enemies into shared damage, then keep controlling them instead of immediately retreating. This setup needs coordinated positioning; it is not a drop-in replacement for a normal tank.
 ChronervaSupport
Lv.1 supplies debuffs, Lv.3 adds healing, and Lv.7 makes damage a larger part of its job. Choose the stopping point that fixes the draft. Frontline use in D4 needs a durable, high-investment T4 form; a low-star support copy should stay protected.
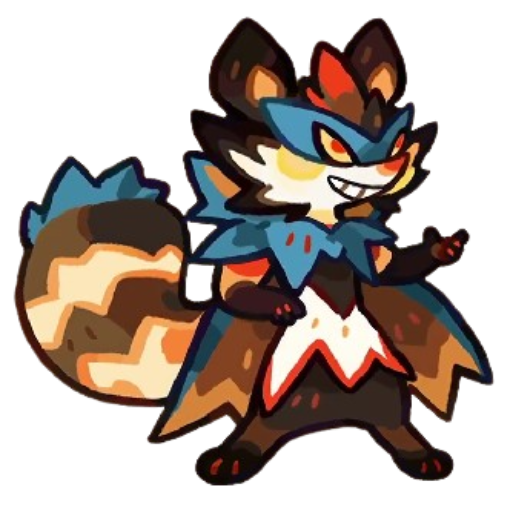 ZorrockRedSupport
Returning Lackeys add healing and buffs, with a bigger damage payoff at Lv.7. Frontline use depends on a heavily invested T4 form surviving first contact. Treat it as a support-damage project with a real durability requirement, not a cheap replacement for a core tank.
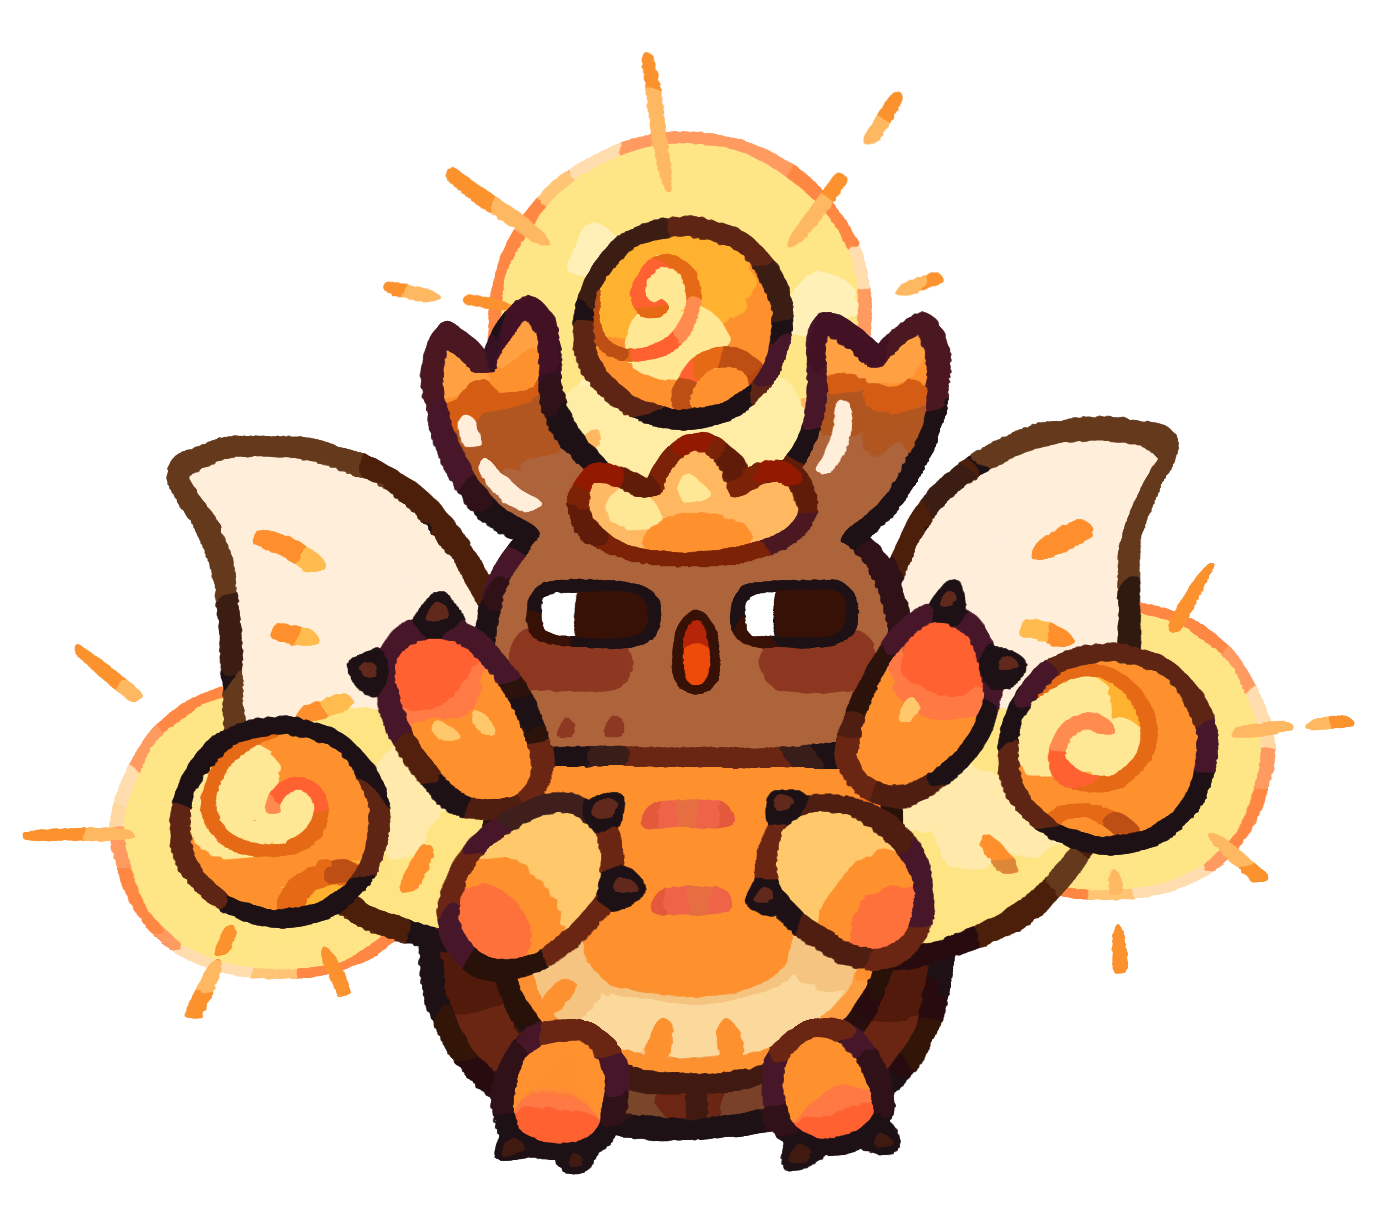 ZenscarabDPS
The vortex still pulls and holds bosses where allies can hit them, even with lower Lv.7 damage. Place it to support a shared damage zone. Pick it for that control when another plain damage dealer would leave bosses out of reach.
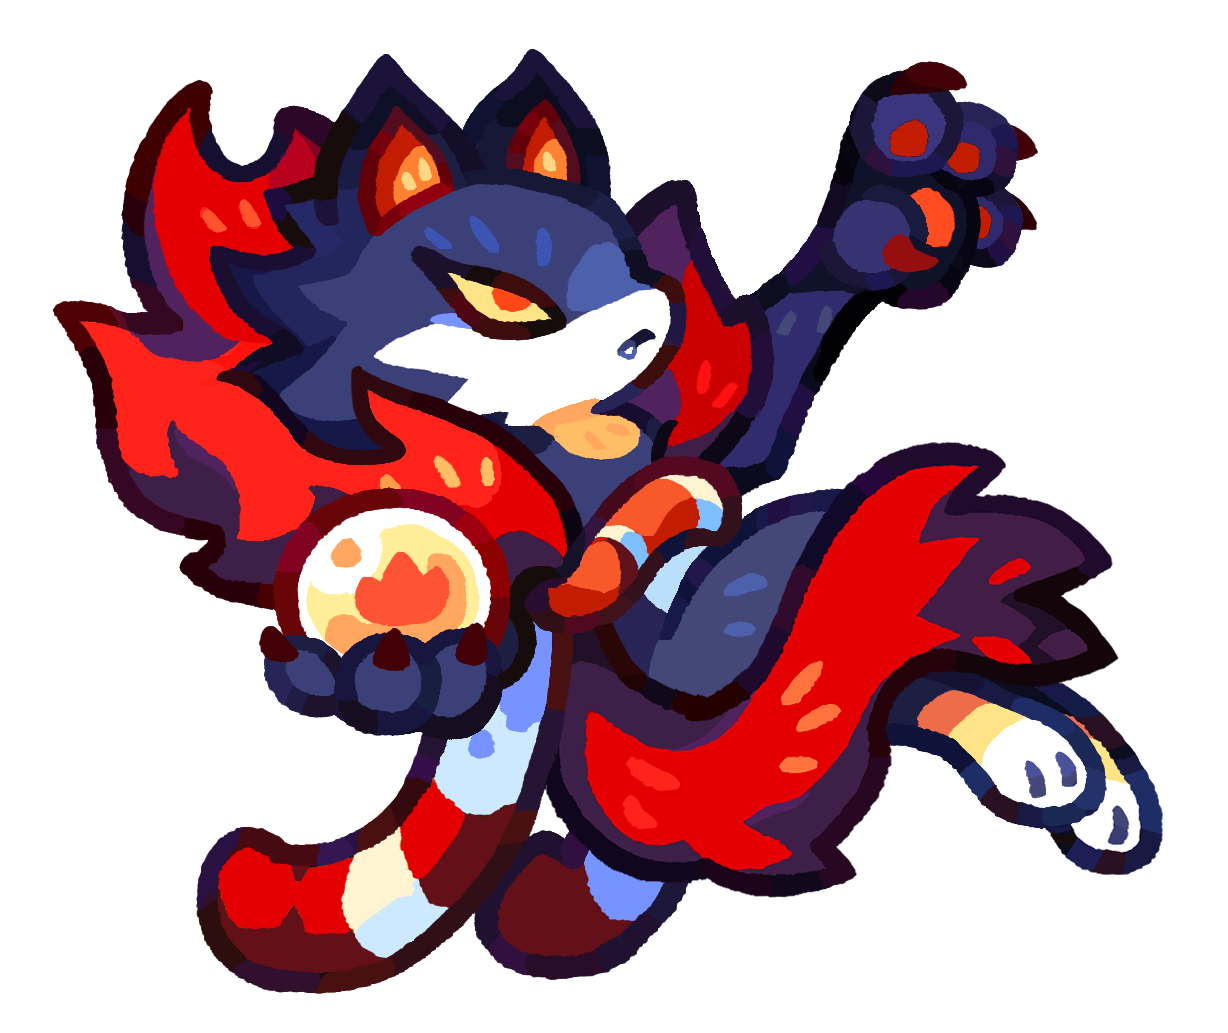 SilversearDPS
Fire Cat tech adds team ATK support rather than filling a normal damage slot. Coordinate one copy, place it after the rest of the formation, and manage its movement to keep the boost active. Choose a simpler support if that extra handling disrupts boss control.
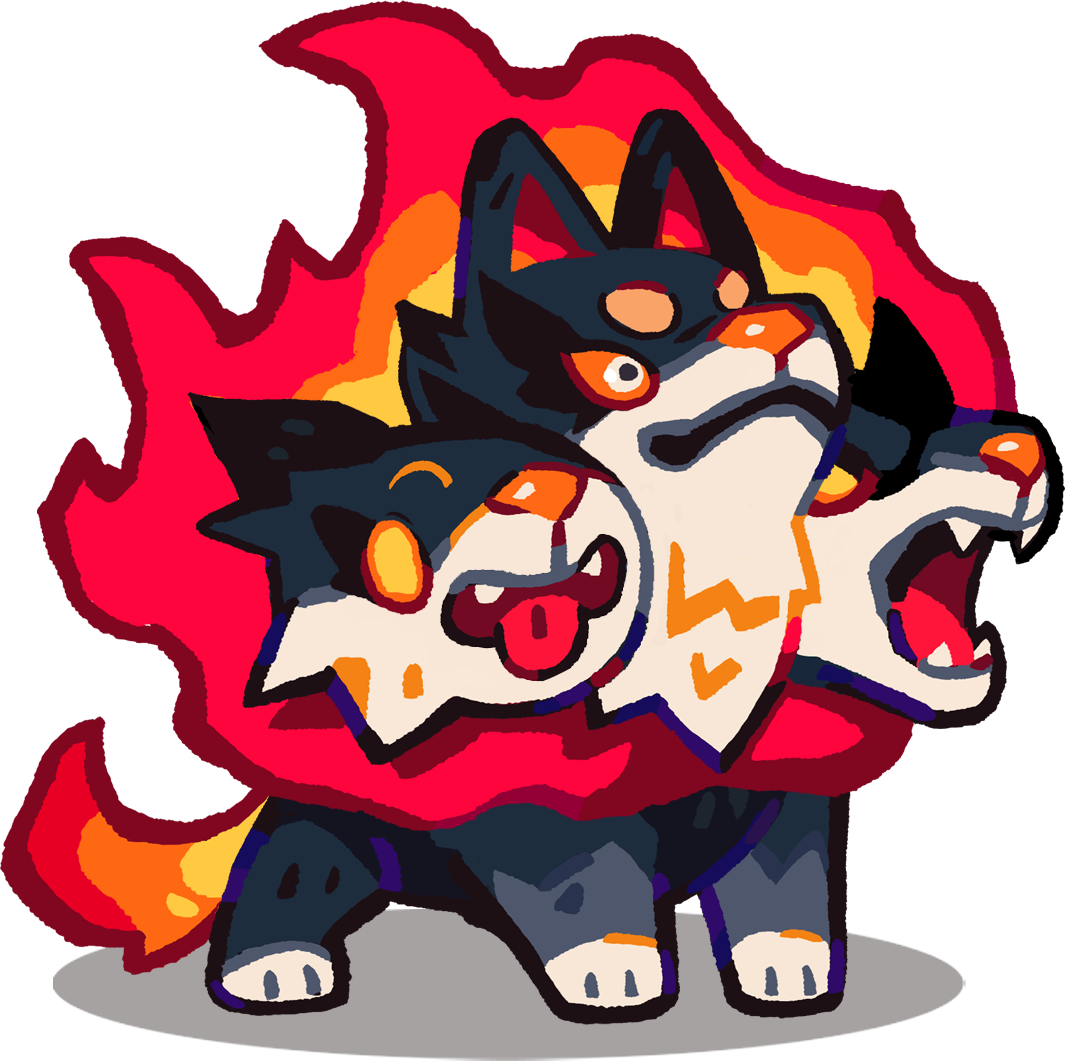 HellhoundPurpleGuardian
Weak reduces dangerous incoming damage while its Fire attacks help clear the lane. A strong alternative when your copy is already built or Lickflicker is unavailable. Keep the other front slots element-balanced rather than adding Fire bodies for damage alone.
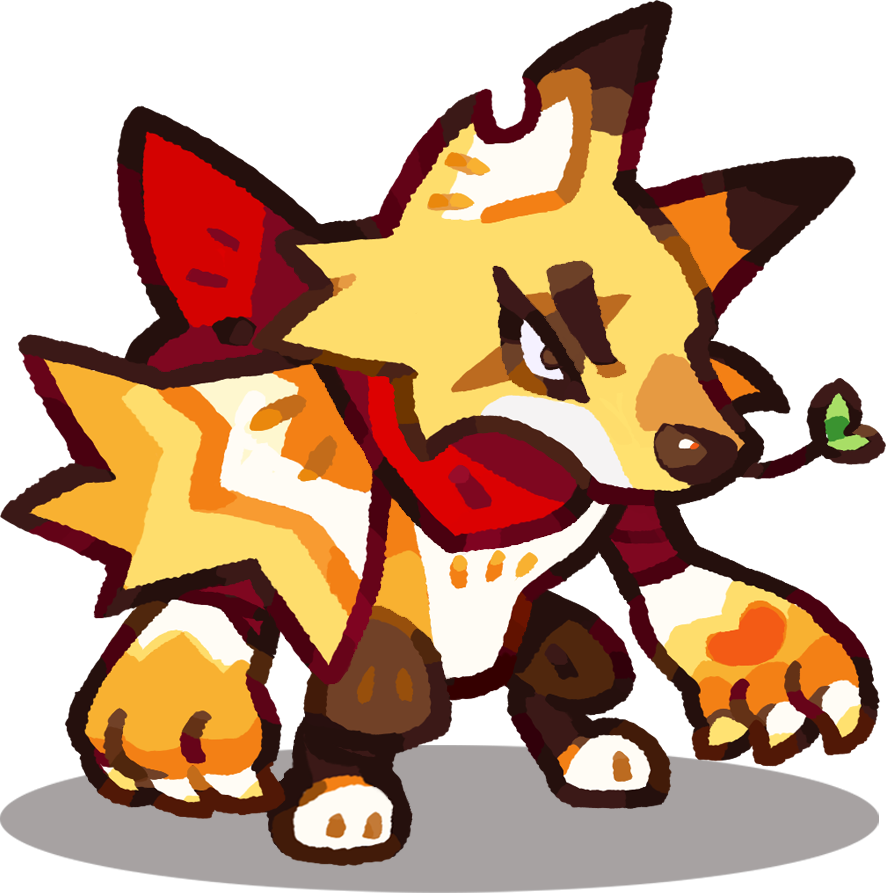 VoltverinePurpleGuardian
T3 Invincibility windows help it survive while its Lightning attacks pressure the lane. Use a developed copy when you need another frontliner, but check that it survives between those windows before replacing a core tank in harder waves.
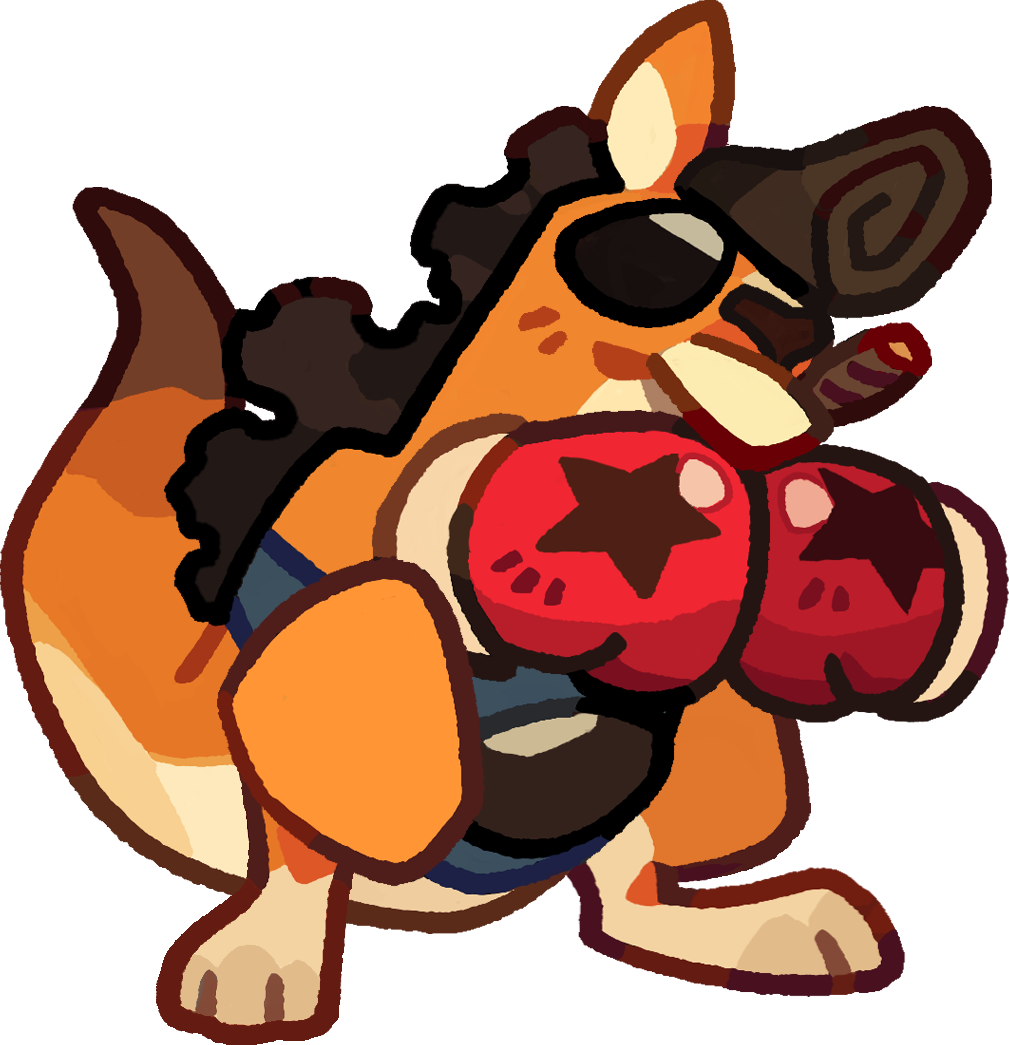 KangachampGuardian
Multi-hit punches and brief Invincibility make it a useful tank-damage hybrid. Pair it with Hyphoria when the support and punch cycle fit your formation. Existing stars and food can make it worth fielding before starting another frontline project from scratch.
 ChefuguSupport
Healing and buffs support the lane, while Lv.7 adds a large Fire burst. The long cooldown leaves gaps, so do not rely on it for constant wave clear. Pairing it with Lickflicker also needs care against Water pressure such as the Yeti.
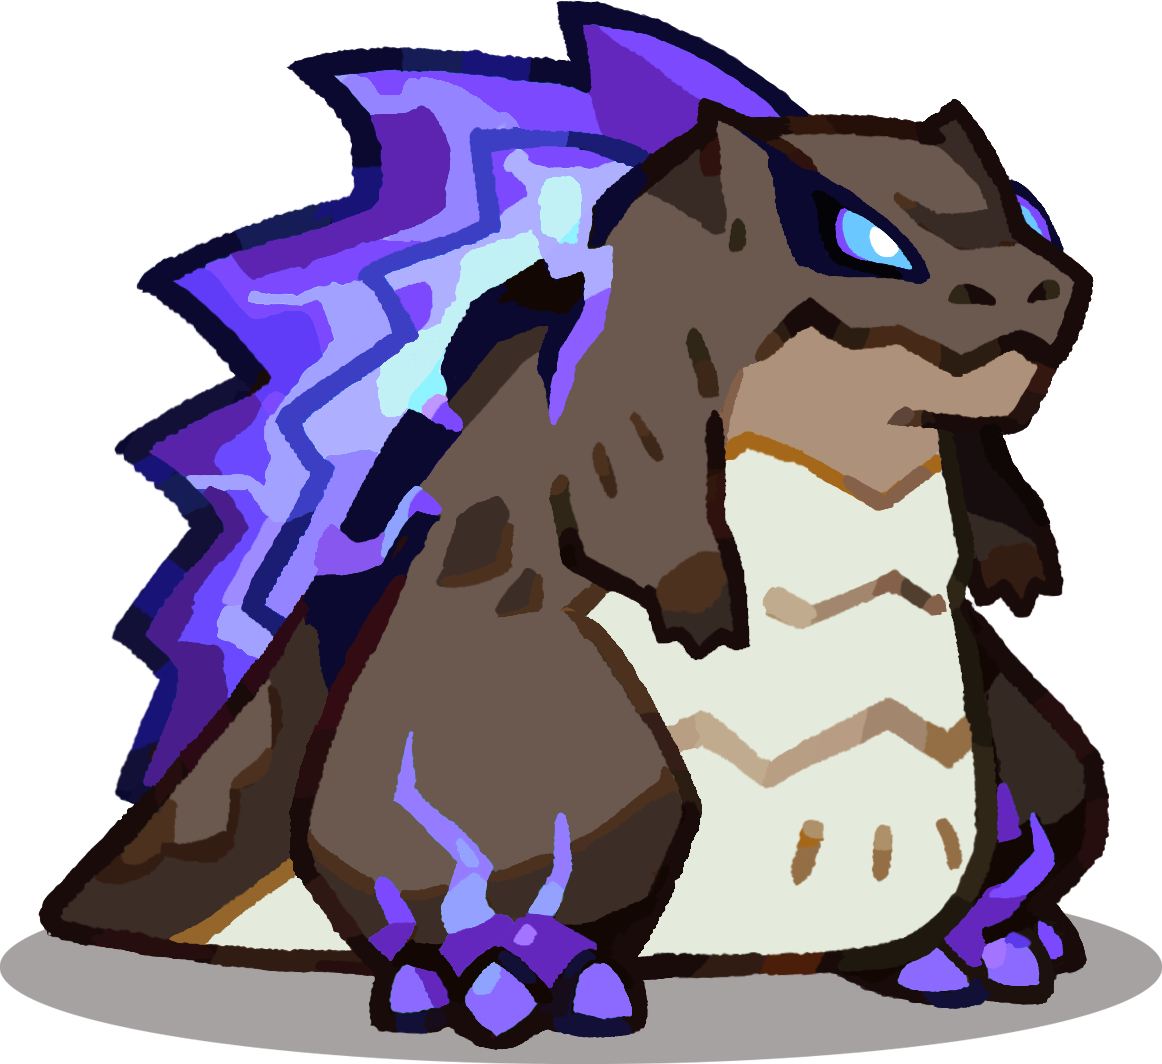 RockzillaPurpleTank
Self-shielding and control make it a reliable lane holder when survival is the problem. Its damage is less attractive than the core tank-damage hybrids. Keep a well-built copy in use, but solve a boss timer with stronger damage behind it.
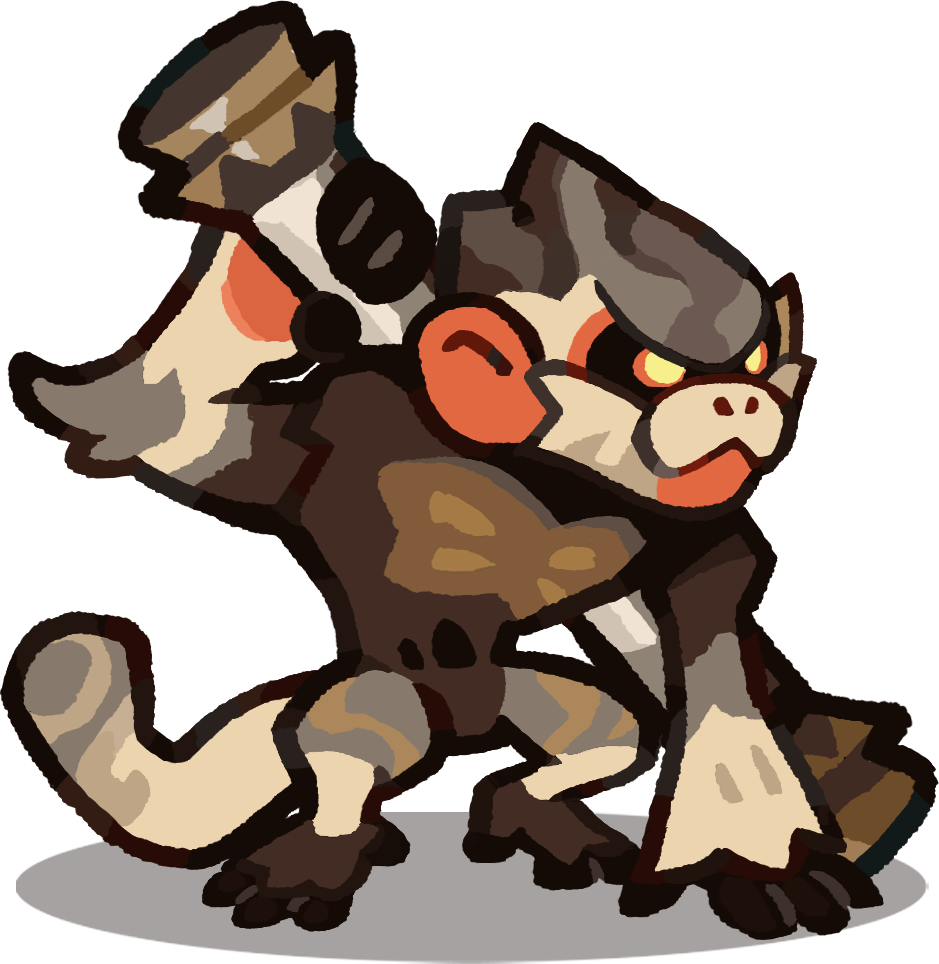 RockongPurpleDPS
Clones and damage still give an already-built copy a useful frontline job, especially through D2-D3 progression. Its lower S2 ceiling makes it a weaker first project for D4. Do not discard invested stars just to field an underbuilt replacement.
 ZapantlerPurpleDPS
Piercing Lightning damage remains useful, especially when existing stars make it stronger than your alternatives in D2-D3. Voltmare is usually the cleaner focused-boss project. Keep Zapantler if it closes the current damage gap without diverting resources from needed support.
 TaiglowGuardian
Frontline AoE and the Lv.7 attack give it strong damage potential in D2-D3. Late D4 waves can force repeated retreats for meditation, cutting that output. Use it when its durability holds up; self-recovery is not a guarantee against crowded boss waves.
 BastogardDPS
Back-row mud attacks add Blind, and Lv.7 summons increase sustained damage. That safer placement gives up the close-range benefits of its hiding mechanics. Useful when you want damage plus a little protection, but not a reason to replace a stronger established tank.
 WheekrollerRedDPS
Lv.7 spreads Lightning damage around the field. Choose it for broader pressure when your frontline already survives. If the run stalls on a few surviving bosses, Voltmare's focused targeting usually addresses that problem more directly.
 FishopusDPS
Lv.7 offers a large Water burst and can reward an already-developed D3 roster. Long cooldowns limit sustained output, and its damage-reduction field is not permanent protection. Start with one across the pair so another slot can supply steady damage or healing.
 BlizzgrizzRedTank
Piercing fish add Water pressure, while the Danger trigger heals and cleanses itself and one nearby ally. Keep the ally you want to rescue close. Its own Fragile drawback means this focused recovery does not make it a universal frontline upgrade.
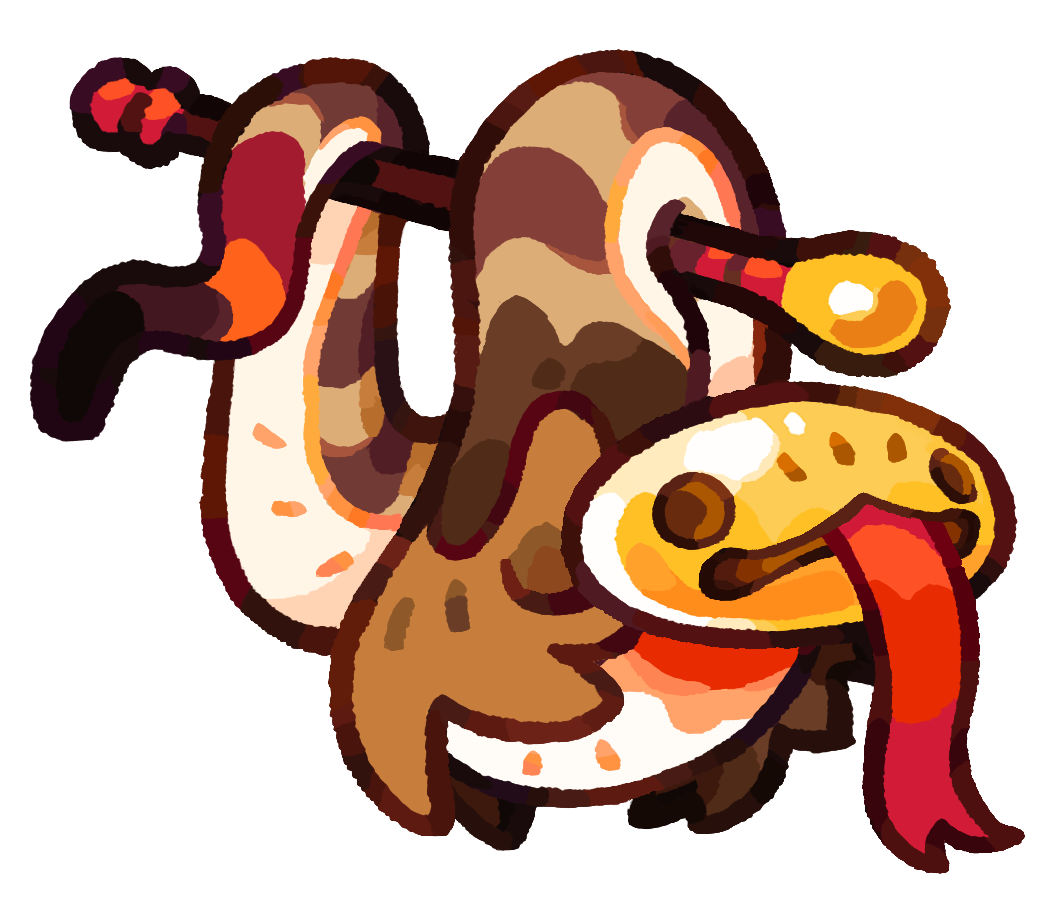 ClangnagaDPS
Piercing sound waves and Stun add control alongside Rock damage. Use it when that combination fills a missing job in the draft. If pulling bosses into reach is the real problem, Zenscarab or a coordinated Armorjaw setup offers a more direct answer.
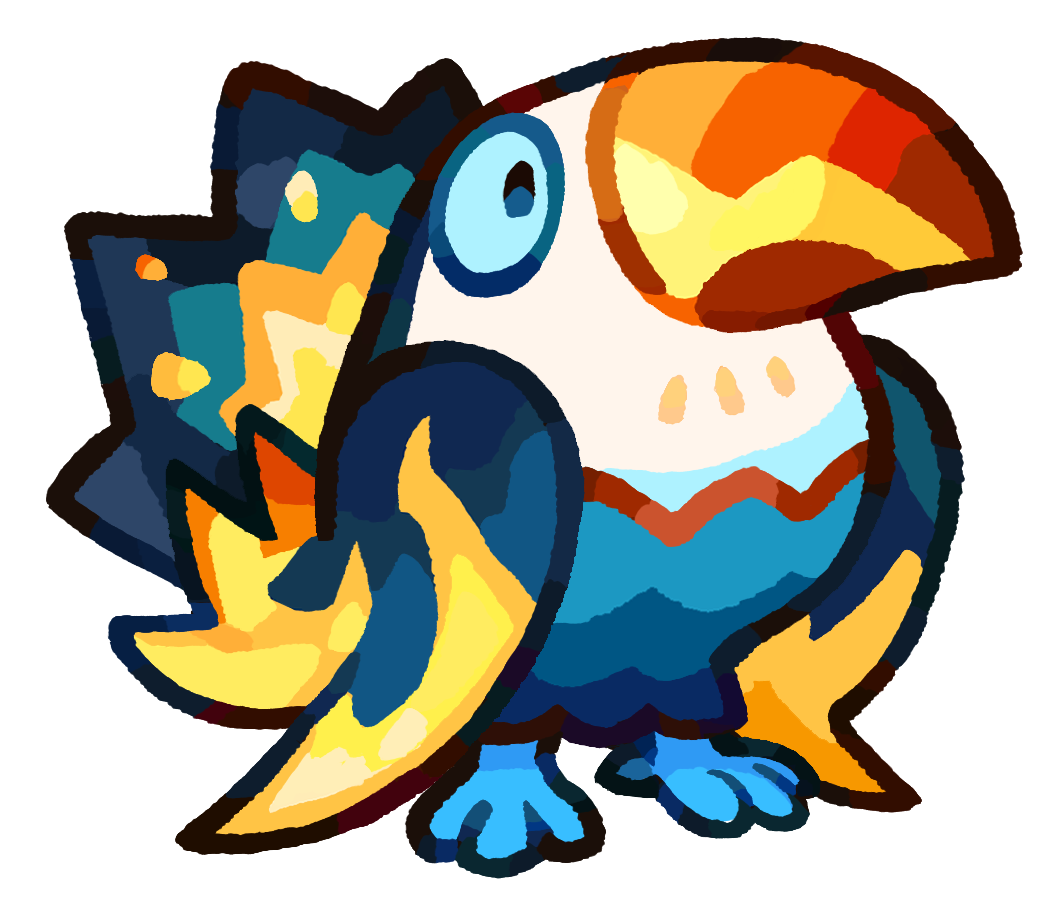 ToucanzamPurpleTank
Links allies for ATK boosts, with extra value for Lightning teammates. Its damage reduction also lets it cover a defensive gap. Place it around the units you want to strengthen rather than treating it as the default answer to every boss matchup.
 HothogSupport
ATK boosts, BBQ Shields, and nearby healing offer a useful support package when the main healers are missing. Its attacks spend HP, so watch its health and keep the intended allies nearby. It fits a sustain gap better than a pure damage race.
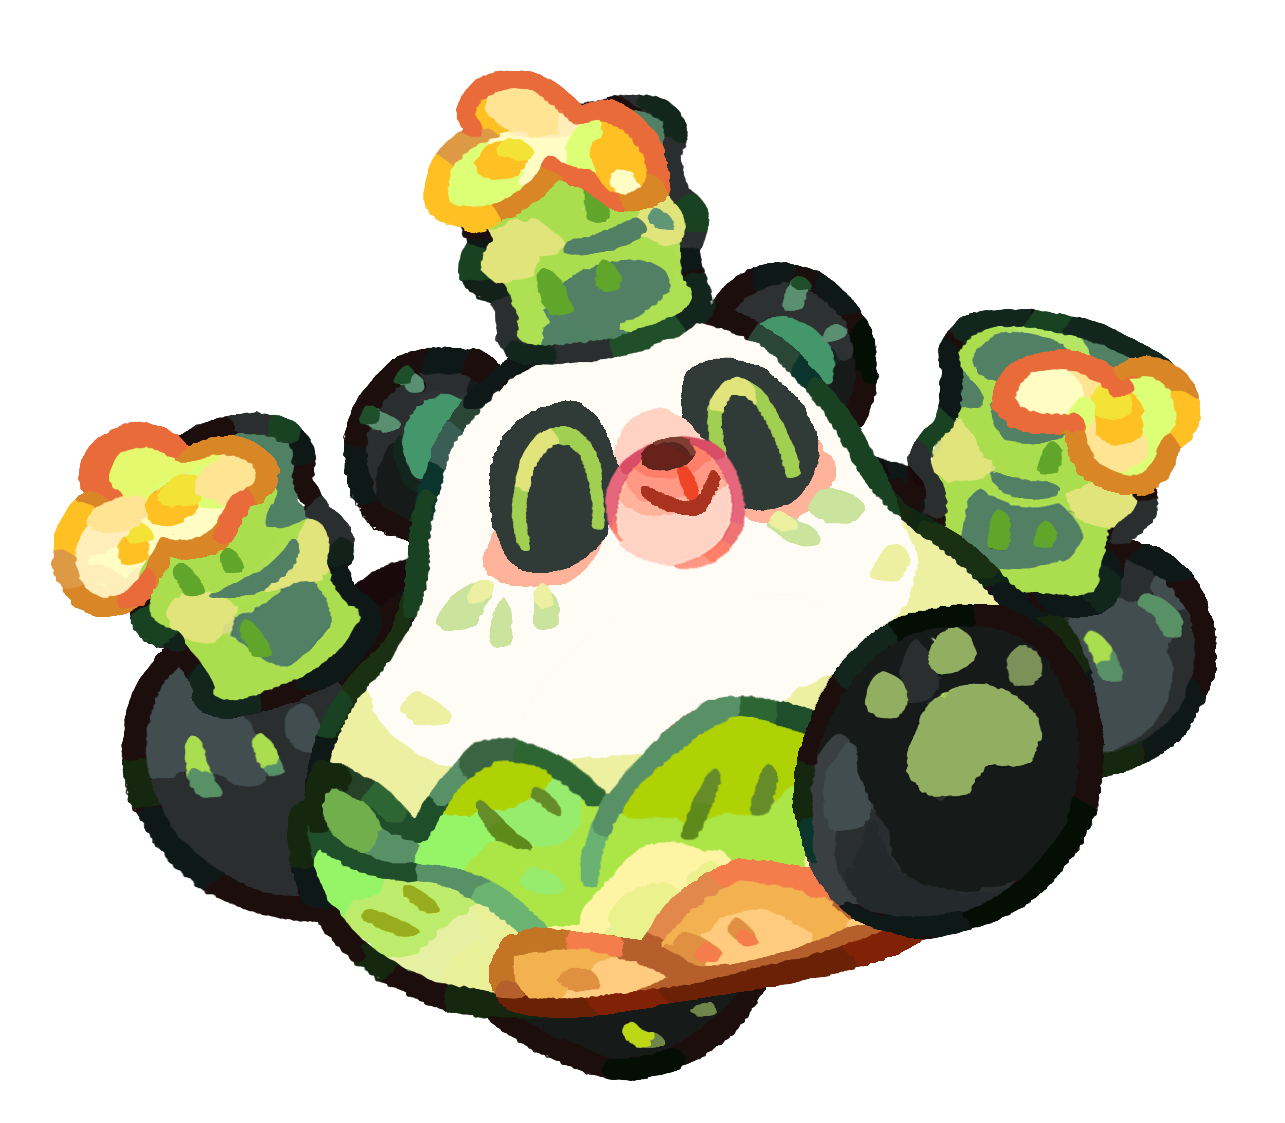 PandarriorDPS
Bamboo pressure, Slow, and team boosts give the formation extra support across lanes. Its larger Lv.7 payoff competes with tanks and core supports for Candy. Use an invested copy when the draft needs its combination, rather than rushing it ahead of basic survival.
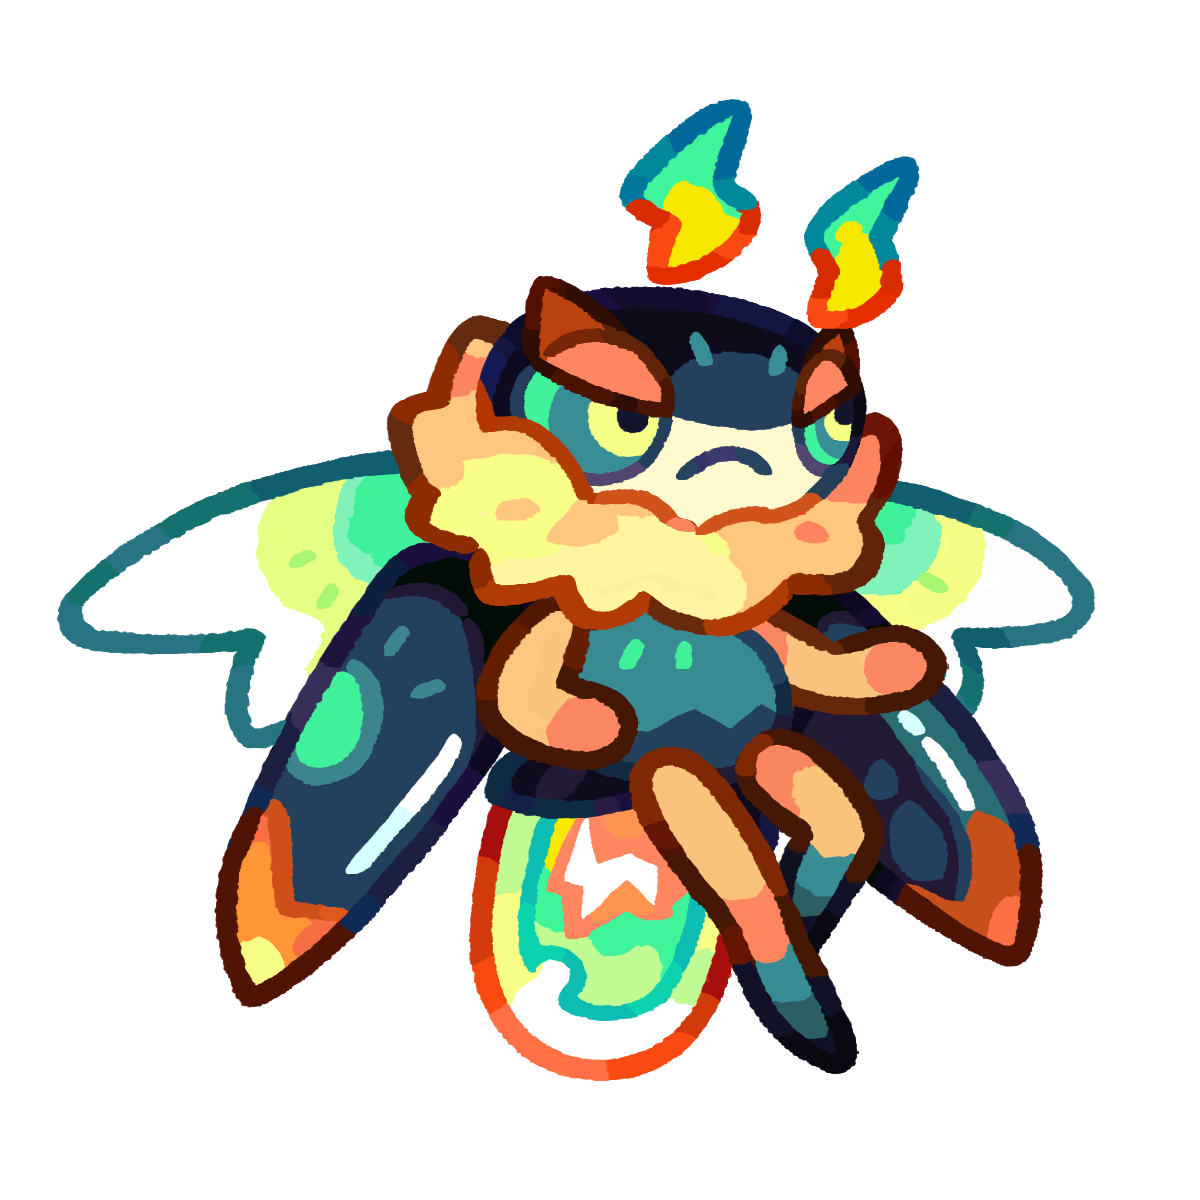 GlimmerwingRedHealer
Static Shield protects a front-row ally and adds Paralysis. The larger Horde healing and control payoff needs Lv.7, making it Candy-hungry even when the evolution line is accessible. Aquariel is easier to fit when the team needs support immediately at Lv.1.
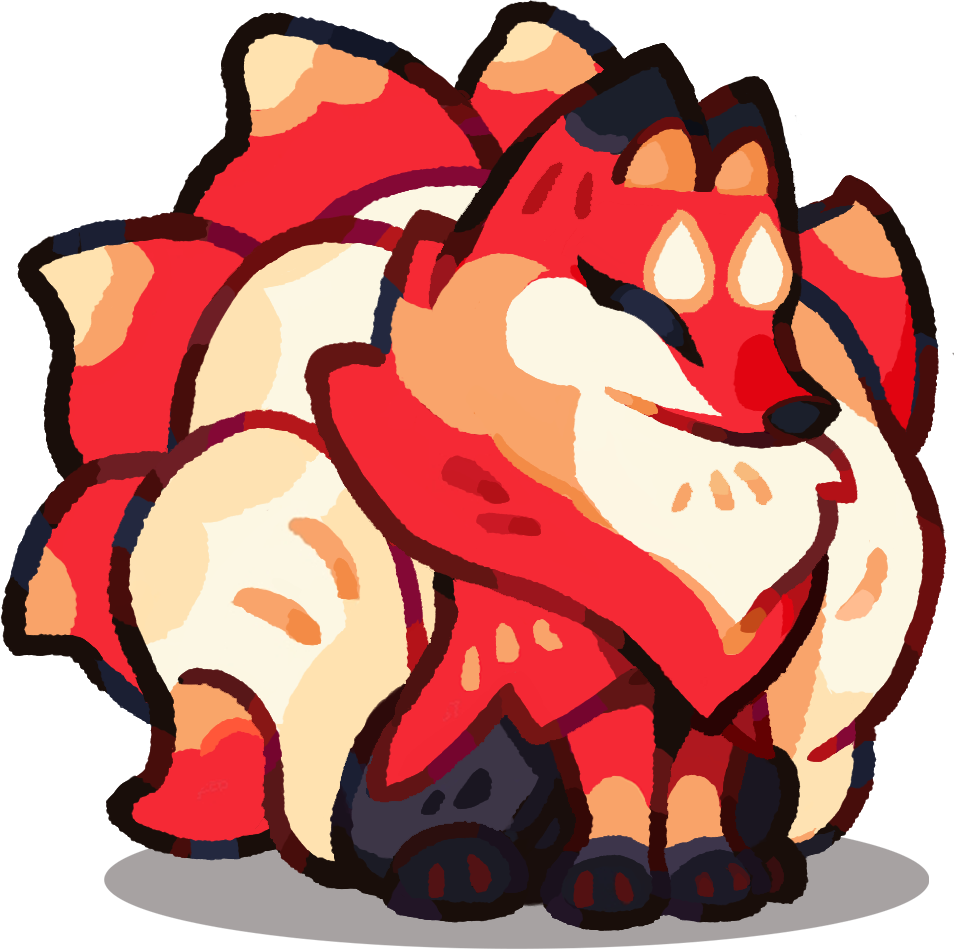 FlarevixPurpleDPS
Blooming Fire shots can clear clustered enemies when this is your strongest built Fire attacker. Azurion's repeated orb damage and Pyroclobster's close-range boss pressure have clearer core roles. Use Flarevix to cover a draft gap rather than making it the first S2 upgrade.
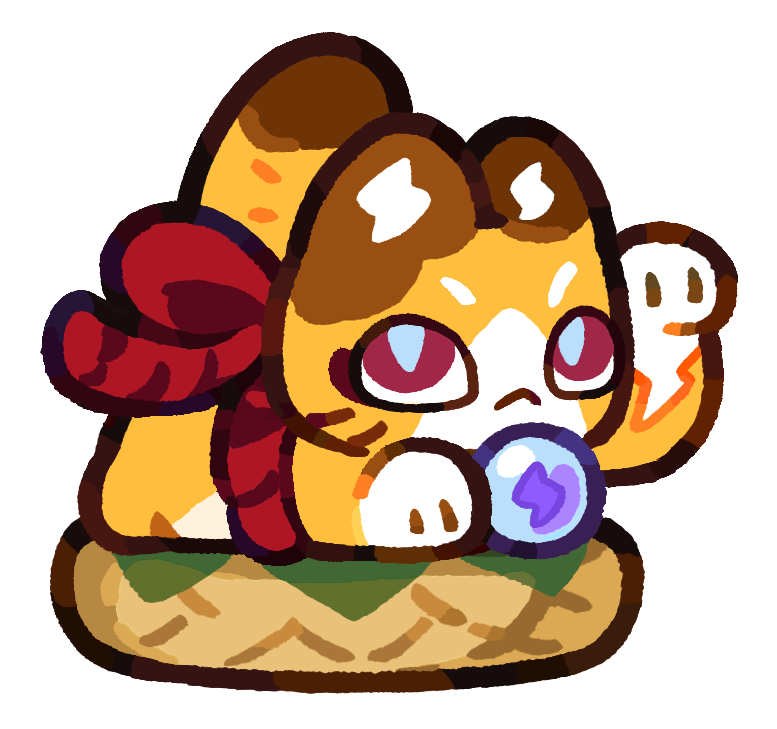 NekowattGuardian
Rapid punches gain speed and wider AoE, but damage falls with distance. It needs enemies close enough and enough survival time to ramp up. A situational choice for a developed Lightning roster, not a replacement for reliable frontline protection.
 GalewetherDPS
Clouds provide continuous Lightning AoE, and upgraded dark clouds add Paralysis. Keep the damage area on enemies long enough to matter. When only a few bosses remain, focused damage is usually a better use of the slot than more spread pressure.
 FrostiquePurpleDPS
Splitting ice and Slow help manage crowded Water lanes from the back. Useful when you lack stronger control options or have a clear star advantage. Seaswirl and Tideon usually offer a more complete damage-and-support package for a fresh investment.
 StoodbeakPurpleTank
Ice Shield and the crystals released when it breaks can patch a missing Water frontline. Strong existing stars make it more attractive at lower difficulties. Dreadclaw's sweep or Armorjaw's coordinated pull usually provides a clearer late-run job.
 SouverelleRedDPS
Moves HP from healthy nearby allies into damage and healing for low-health allies. That trade needs a formation with spare health to share. Avoid relying on it as the only recovery tool when the entire team takes heavy damage at once.
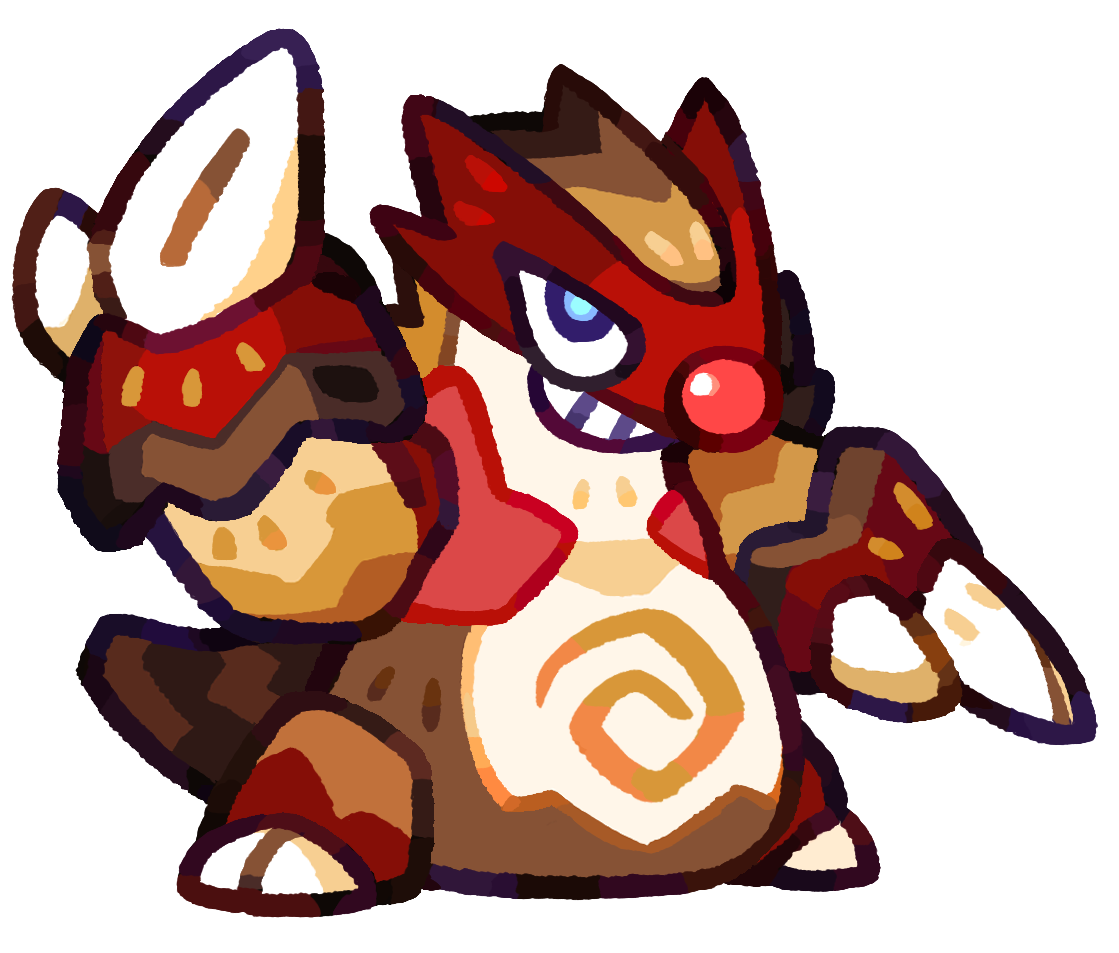 BorelordSpecialist
Knockback, Stun, and forced row changes can break up an awkward enemy cluster; targets that cannot move take Shredded instead. Use the displacement to feed allies' attacks. Moving bosses away from the main damage lanes can work against the team.
 PtooielamaDPS
Bind and Slow zones help when several enemies share a tile, but its AoE has limited reach. Choose it for a clustered lane that needs extra control. It is a lower priority when bosses stay spread out or the roster already covers that job.
 TerracrawlerTank
Liquid Shield lets it attack with bubbles, then Stun nearby enemies when the shield breaks. It can fill a Grass defensive gap when already built. Core tanks are safer first projects when you need dependable survival across several boss matchups.
 DonscarabPurpleSpecialist
Invincible dashes bring Fragile and Knockback, but repeated pushes can leave bosses beyond your damage dealers' reach. Coordinate the lane before using it. Extra control only helps when the rest of the formation can still hit the target.
 FrugagonPurpleDPS
Exploding fruit supplies Grass AoE and Slow from a protected slot. An invested copy can cover wave clear when Thornwisp is unavailable. Choose it for that role; broad explosions do not automatically replace sustained Poison and Bane against a tough boss.
 MagmuskDPS
Lingering gas and ignition damage work best when enemies stay together inside the attack area. It can cover missing Fire AoE in a developed roster. Do not expect the same payoff when bosses move away from the gas or spread across the board.
 LilypoTank
Kills trigger a Pink Shield and a recovery pause, while Frail enemies take extra damage from its attacks. It fits lanes where it can secure kills and recover. Long boss fights without those kills make it a less dependable sustain choice.
 CactoczarDPS
Sting stacks build damage and spread through kill explosions, giving it a job against packed waves. Consider an already-built copy when the draft lacks Grass pressure. For a new D4 investment, secure the core tank, healer, and boss-damage roles first.