Clash of Critters T3 Tier List
The Best T3 and Endgame Tatari
Ranked T3 Tatari for late-game carries, setup engines, durable frontlines, support, and flexible damage.
Updated T3 / Endgame Tier List
T3 and endgame ranking focused on late-game carries, setup engines, support value, durable frontlines, and mode-flexible damage.
 HyphoriaSupport
Spore coverage, ally attack-speed support, and damage reduction now make it useful across chapters, bosses, Dojo, and Horde, earning the top S-tier slot.
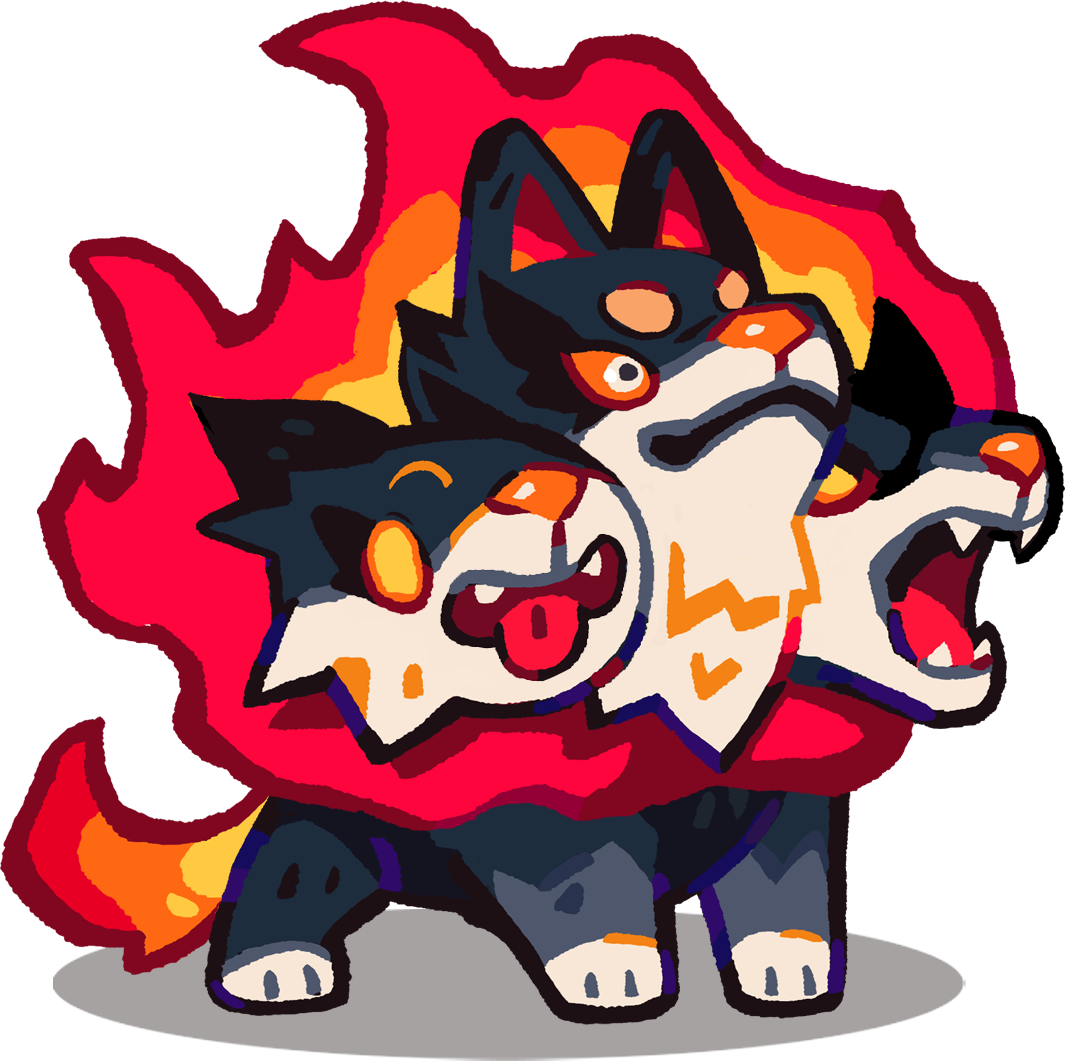 HellhoundPurpleGuardian
Frontline durability and control work across chapters, bosses, Dojo, and Horde. Build it when a Fire lane needs a dependable body, with healing behind it for longer fights.
 TideonPurpleDPS
Top Water DPS endpoint for late-game damage needs.
 WaveflutterDPS
Elite setup engine; use it to multiply allies that benefit from bubble or lane setup effects.
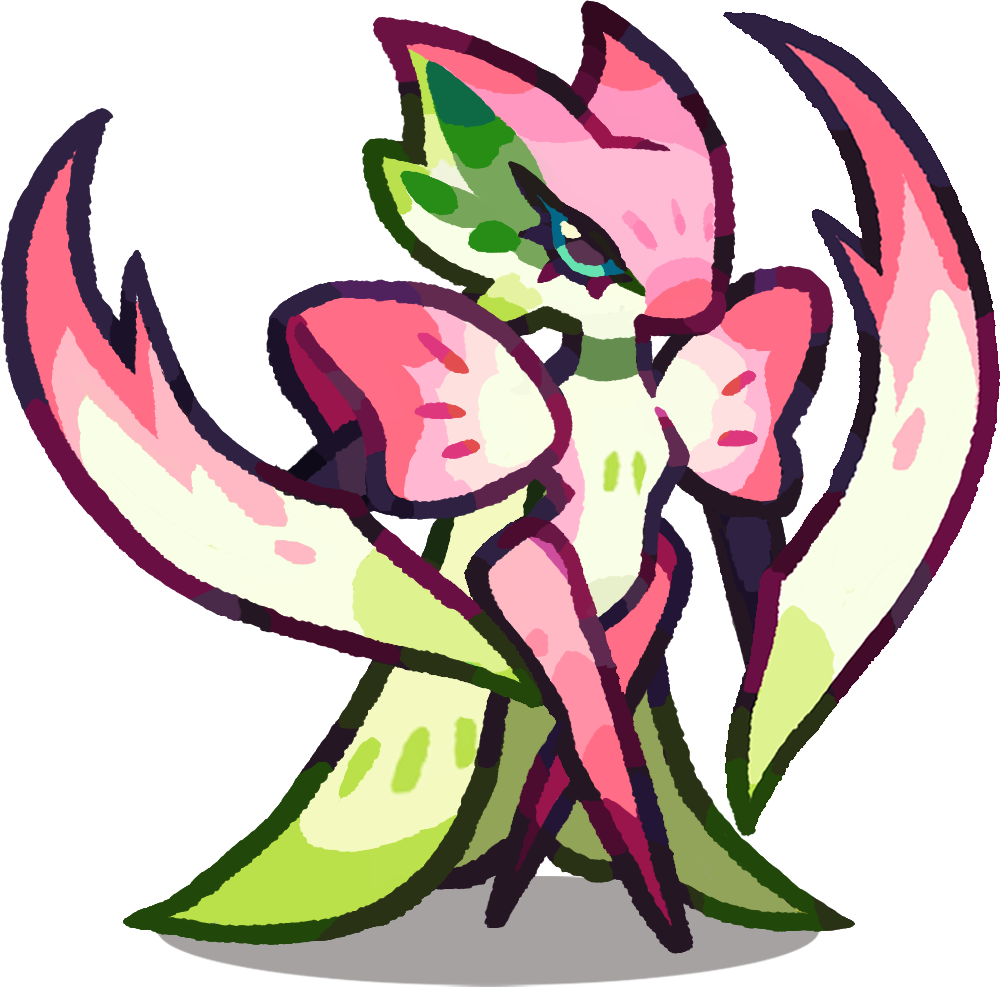 SerrabloomPurpleTank
Top Grass tank endpoint for hard-lane durability.
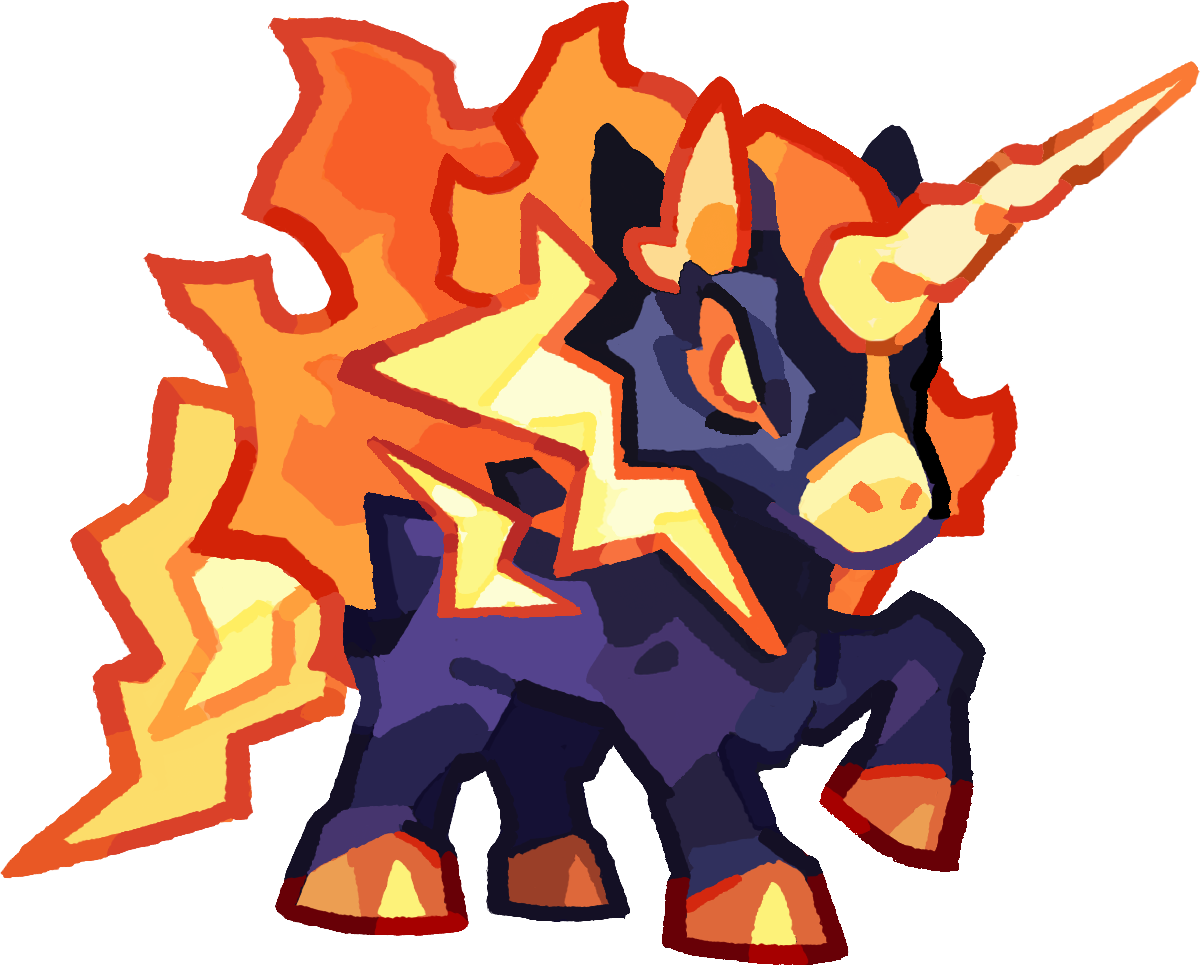 VoltmareRedDPS
Strong at T3 and useful across Dojo, Gold Rush, chapters, and Horde; its broad mode coverage now earns S tier even before the larger T4 jump.
 CheerspringSupport
Top Cheer-line support endpoint for healing and boost value.
 DreadclawGuardian
Clawstorm clears nearby enemies and applies Shredded, while healing boosts its ATK. Pair this Water frontliner with reliable healing to combine lane control with sustained damage across modes.
 RockzillaPurpleTank
Top Rock tank endpoint for holding hard lanes.
 ZenscarabDPS
Reliable boss value and strong focused Rock damage move this beetle from a secondary option into S tier.
 FlarevixPurpleDPS
Burst and explosions remain strong in Dojo and boss fights, with useful chapter damage when targets line up. Its narrower role puts it below the most dependable all-mode picks.
 AzurionPurpleDPS
Fire DPS that works especially well with setup support and multi-lane burn pressure.
 FrostiquePurpleDPS
Water DPS/control endpoint with strong late-game utility.
 SeaswirlPurpleDPS
Water utility DPS for flexible late-game lanes.
 CharflutterTank
Still a strong Fire tank/support, but reduced Horde use and little Gold Rush demand move it from S to A.
 SolafloraHealer
Grass healer/support endpoint for longer fights.
 BlitzmanePurpleGuardian
Lightning Guardian for durable frontline control.
 ZapantlerPurpleDPS
Still an extremely strong Lightning DPS, but the latest Horde balance gives broader all-mode options the S-tier edge.
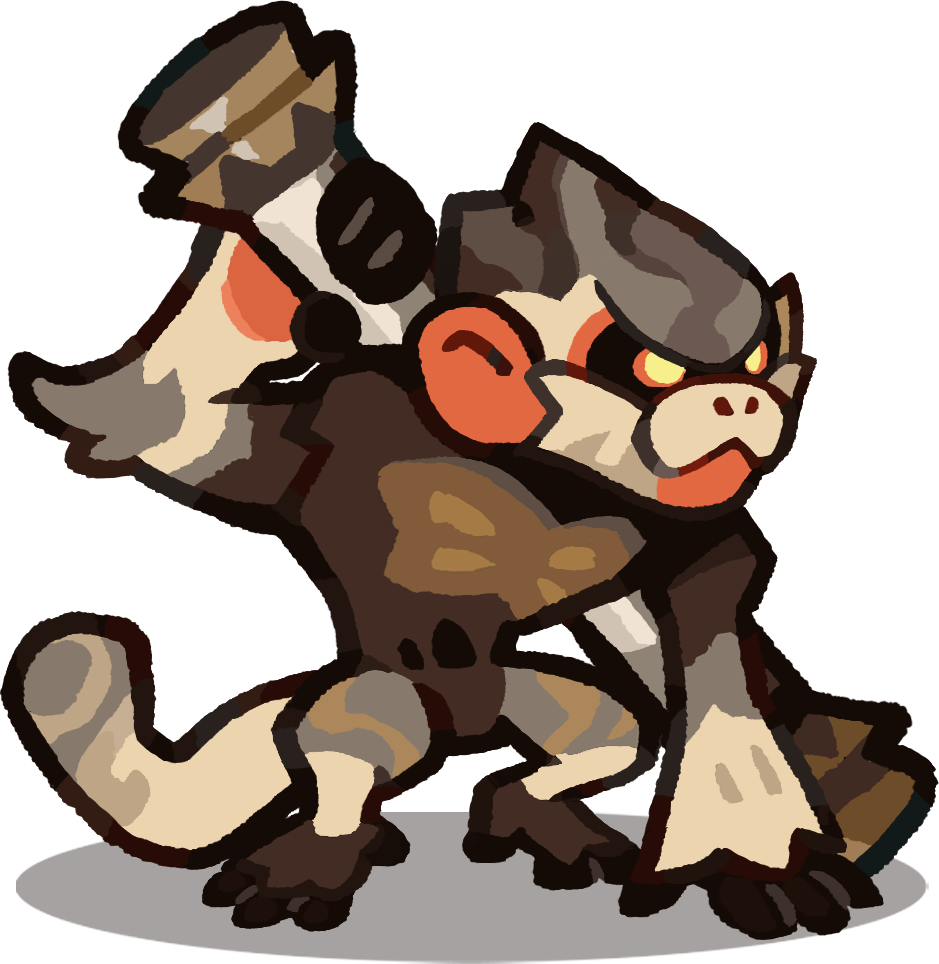 RockongPurpleDPS
Very strong when it first reaches T3, though its relative value falls later enough to move it from S to A.
 RockshellPurpleGuardian
Rock Guardian for durable defensive lanes.
 AquarielRedSupport
Three-lane waves heal allies, build damage boosts, and reduce incoming damage. Place it centrally for coverage; its 2.5-second minimum cooldown still limits close-range cycles. Strong sustain, but compare stars and formation needs before replacing an established support.
 VoltverinePurpleGuardian
Fast Lightning damage adds strong lane pressure without demanding a full setup team.
 ChefuguSupport
Strong T3 support that can throw out attack boosts and healing; best near allies that can use both quickly.
 LickflickerRedGuardian
Its wide forward fire attack spreads Burn through crowded lanes; place it close enough that the cone catches multiple targets.
 ThornwispRedDPS
Three-way poison shots punish close enemies, while poison zones and reliable boss targeting give it strong Horde value despite a slow first zone.
 ZorrockRedSupport
The 3x3 attack area adds broad damage while returning Lackeys heal and boost allies. Place it centrally for reach toward either edge; it does not hit all five lanes at once, and support still depends on the Lackeys returning.
 ChronervaSupport
Setup and control support now earn an A-tier slot. Use it when those effects help the whole formation more than another standalone damage dealer.
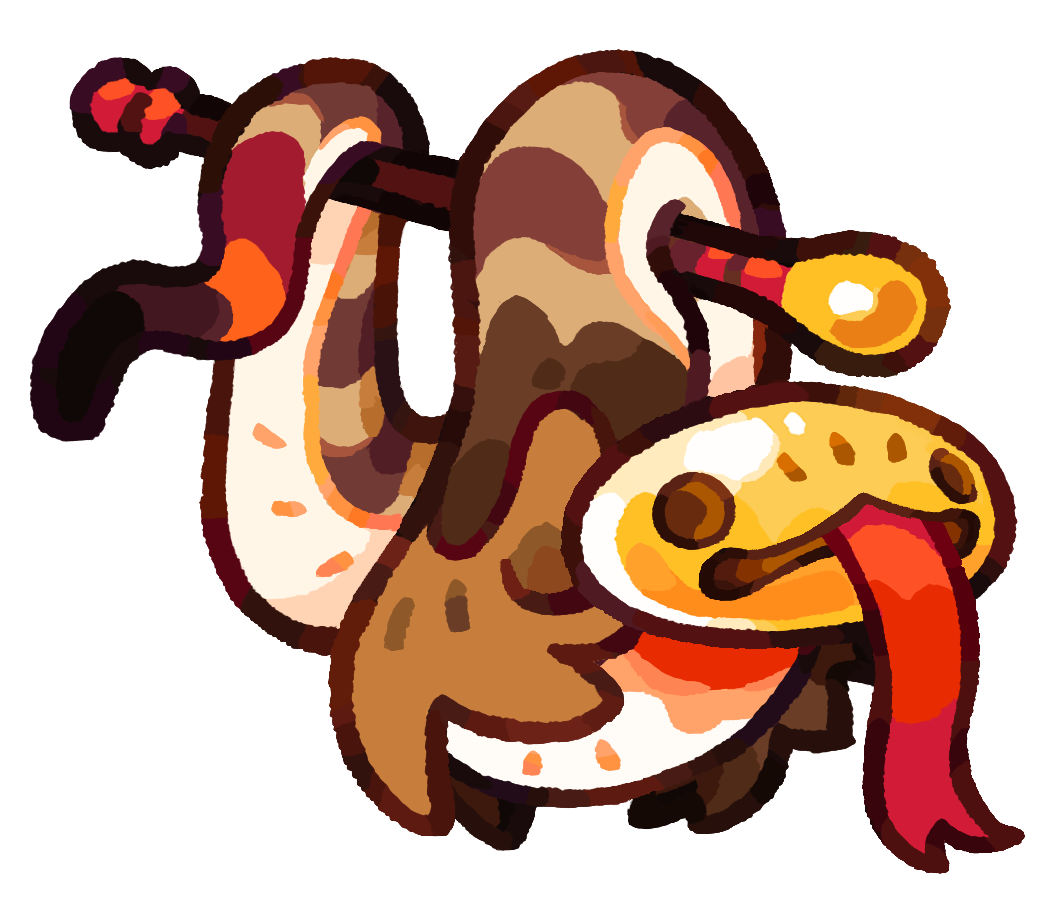 ClangnagaDPS
Fast piercing attacks still pair well with Waveflutter, but fewer must-use roles in Gold Rush and Horde keep it below the broadest S-tier picks.
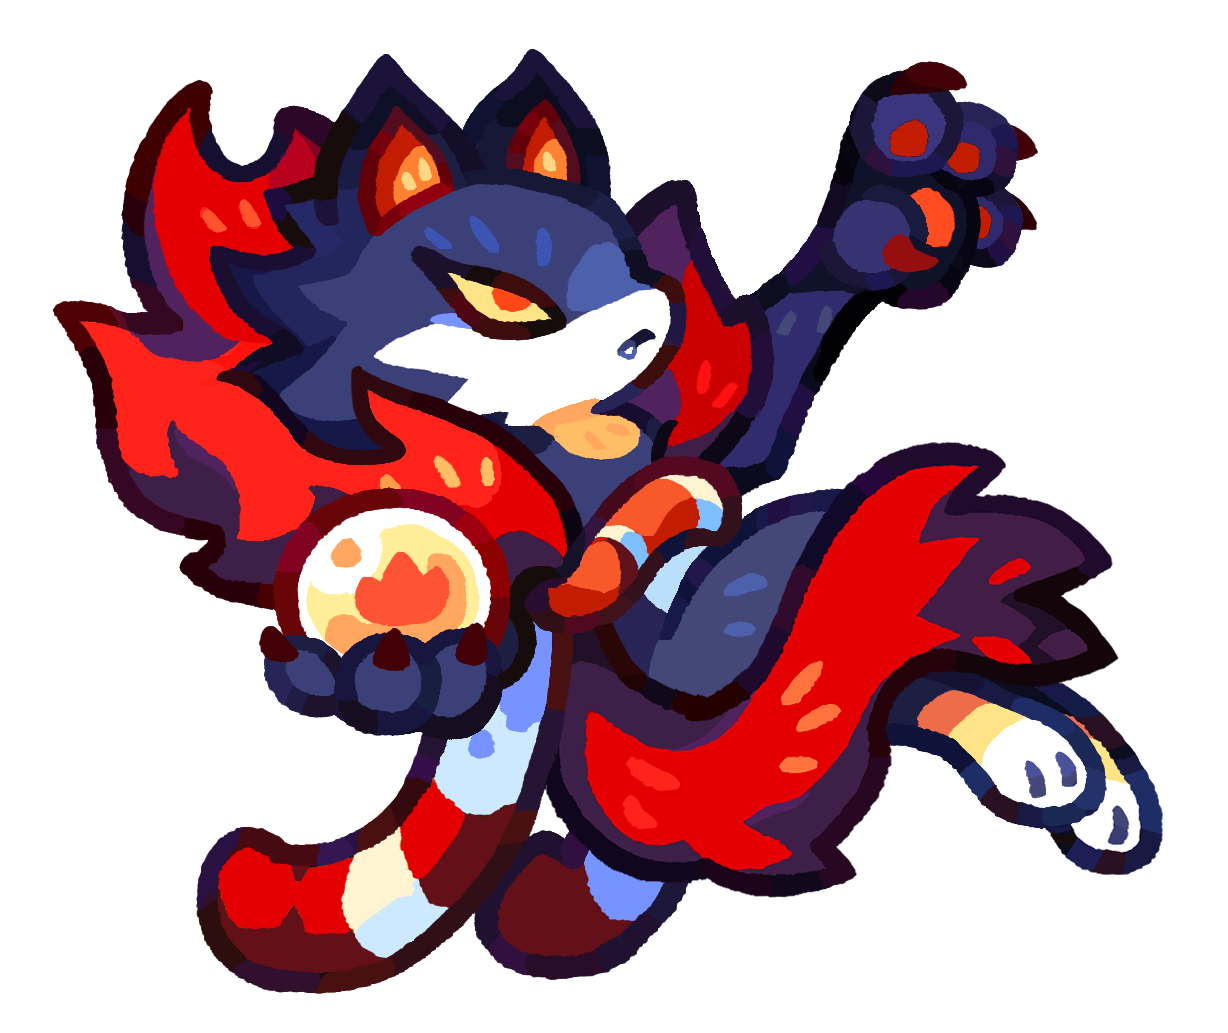 SilversearDPS
Fire damage and team attack support work across chapters, Horde, Gold Rush, and bosses. Plan its position and teammate interactions so the buff reaches useful damage dealers; it needs more coordination than a simple carry.
 PandarriorDPS
Bamboo pressure and Slow still help a Grass lane, but Thornwisp and the broader Grass supports often fill the same team slot. Keep using a well-built copy when it solves a concrete damage or control gap.
 PyroclobsterDPS
Fire AoE damage is usable against clustered enemies, but stronger carries deserve the first upgrades.
 CactoczarDPS
Usable Grass damage when the roster lacks that element, but more versatile Grass damage dealers and supports usually deserve the first upgrades. Keep investment tied to a lane it actually improves.
 ArmorjawTank
Pull, Stun, and stackable Tidesurge Weak now give it enough frontline control to move from C to B, though it still needs the right lane.
 BlizzgrizzRedTank
Four piercing fish pressure crowded lanes, and the Danger trigger can heal and cleanse Blizzgrizz plus one nearby ally; one-target support keeps it below the top tanks.
 SonarbatSpecialist
Lightning Specialist for teams that need utility more than raw damage.
 FishopusDPS
Its strong temporary Lv.7 Horde hit earns B tier, but limited value outside Horde prevents a higher placement.
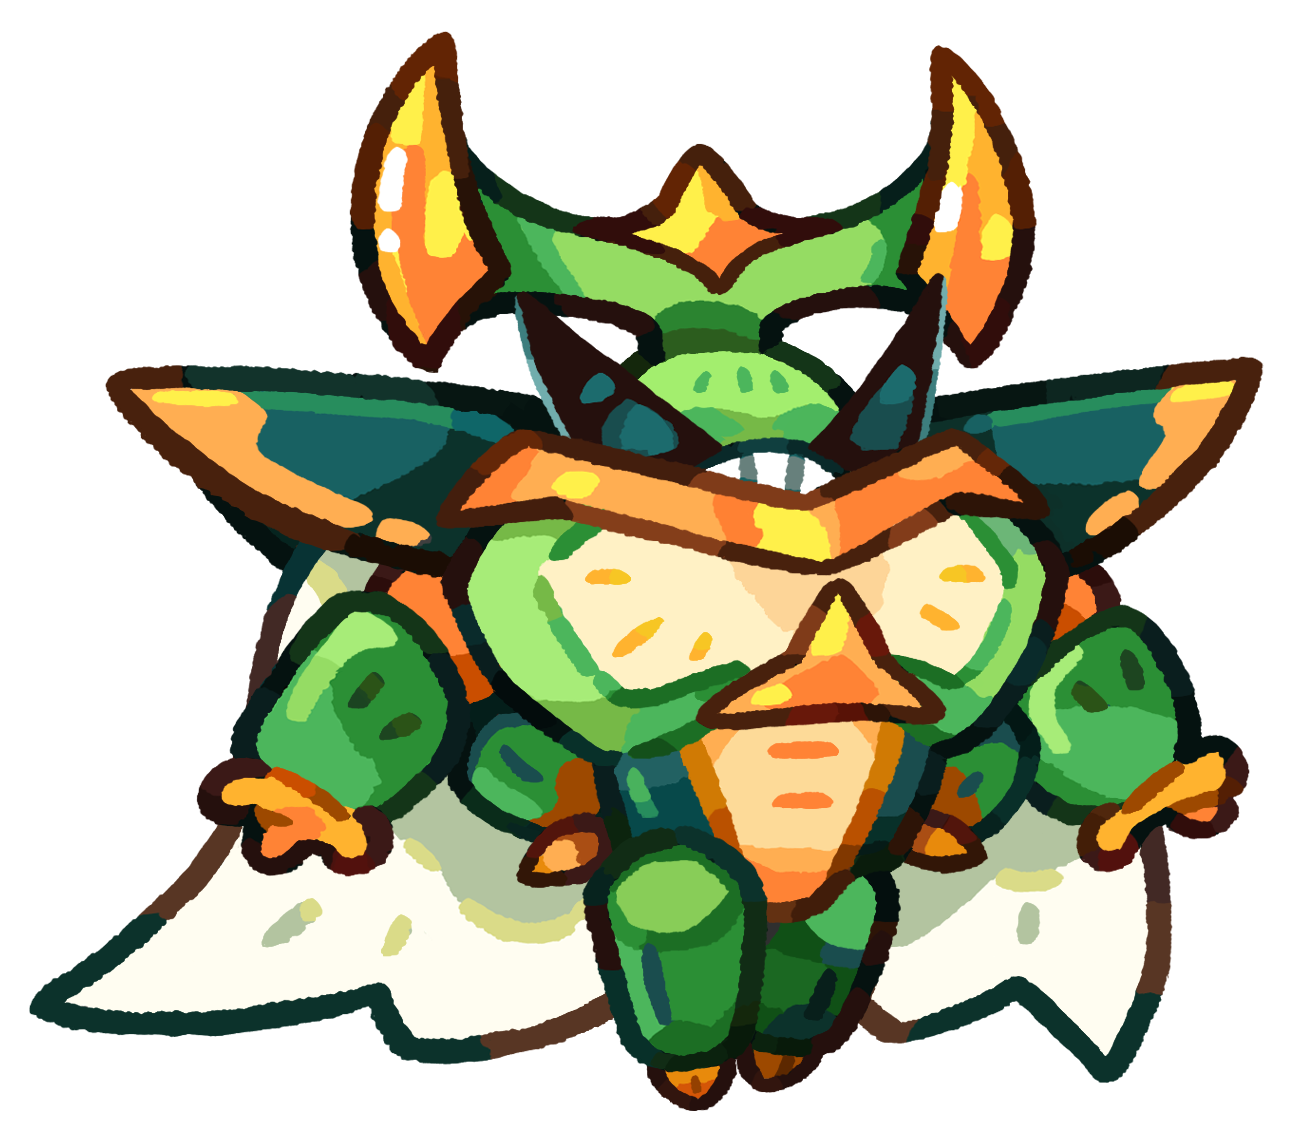 BeetleknightSpecialist
Useful utility and survivability, though it needs the right formation to justify premium resources.
 WheekrollerRedDPS
Magnetic Cage keeps the line's piercing control and adds a cross-shaped impact burst, but the small upgrade leaves it behind elite Lightning carries.
 TaiglowGuardian
Self-healing, a forward dash, and Burn give it a practical chapter and Dojo role, even though Horde and Gold Rush expose its limits.
 PopagrindSpecialist
Provisional B tier: Play Dead adds nearby continuous AoE and sends Possums to two allies for ATK and DEF boosts. The buffs last only during Play Dead, and enemies can pass through it. Use a second blocker and test the random buffs before spending heavily.
 HothogSupport
Shield and attack support can help a specific formation, but spending HP and relying on knockout healing make it inconsistent.
 PtooielamaDPS
Bind plus a Slow zone can control packed enemies, but the short AoE range limits where it works.
 StoodbeakPurpleTank
Ice Shield control remains usable, but its Horde skill now trails the stronger Water frontliners in B tier.
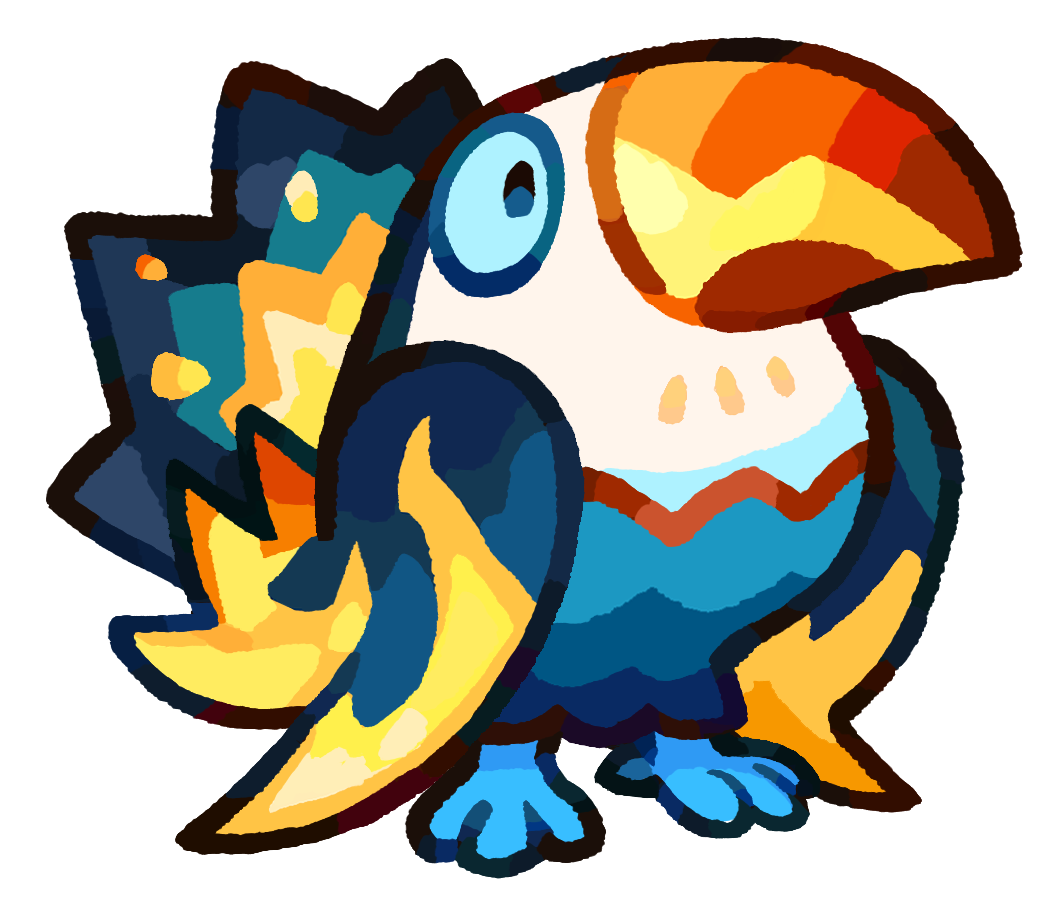 ToucanzamPurpleTank
The latest Horde changes removed much of its old advantage, and occasional Dojo use is not enough to keep it in B tier.
 FrugagonPurpleDPS
Falls behind stronger T3 damage options; avoid heavy spending unless the roster specifically needs Grass coverage.
 DonscarabPurpleSpecialist
Formation-specific specialist utility is usable, but it rarely beats a direct carry or frontline upgrade.
 LilypoTank
Pink Shield and self-recovery can hold a lane, but its overall impact has fallen behind the better Rock tanks.
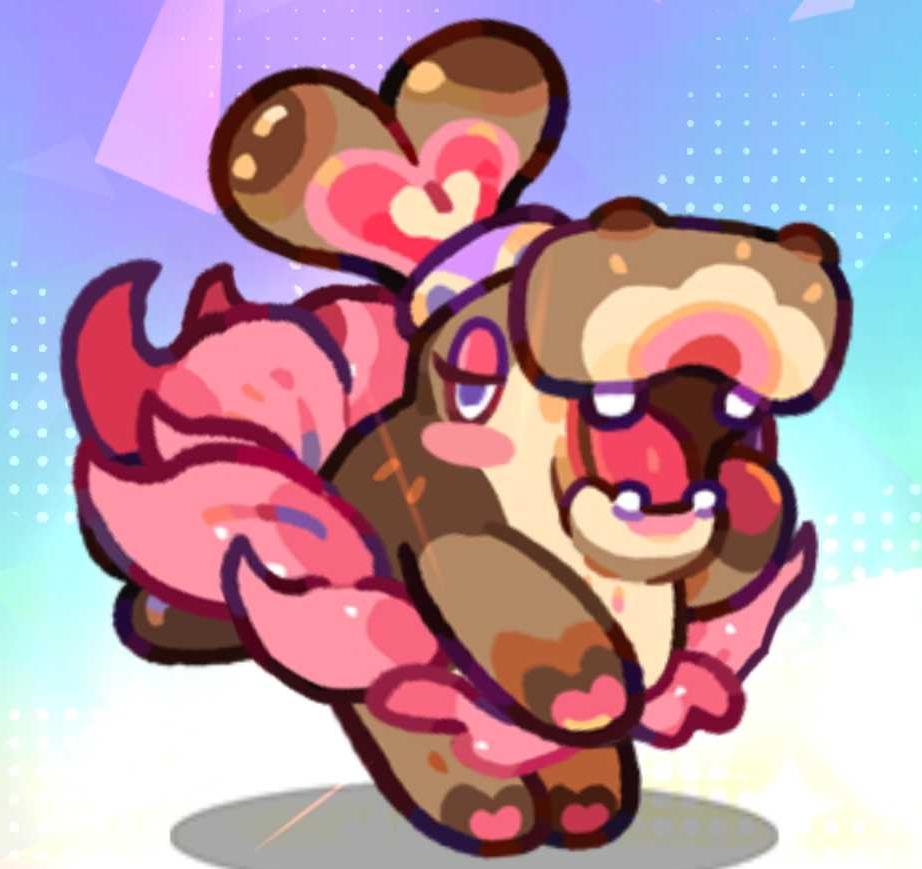 GemmapoTank
Pink Shield recovery and extra damage into Frail targets can stabilize a specific Rock lane, but it needs too much setup for a higher rank.
 BorelordSpecialist
Wide Knockback, Stun, and Shredded can solve positioning problems, but the Specialist slot remains a niche endgame choice.
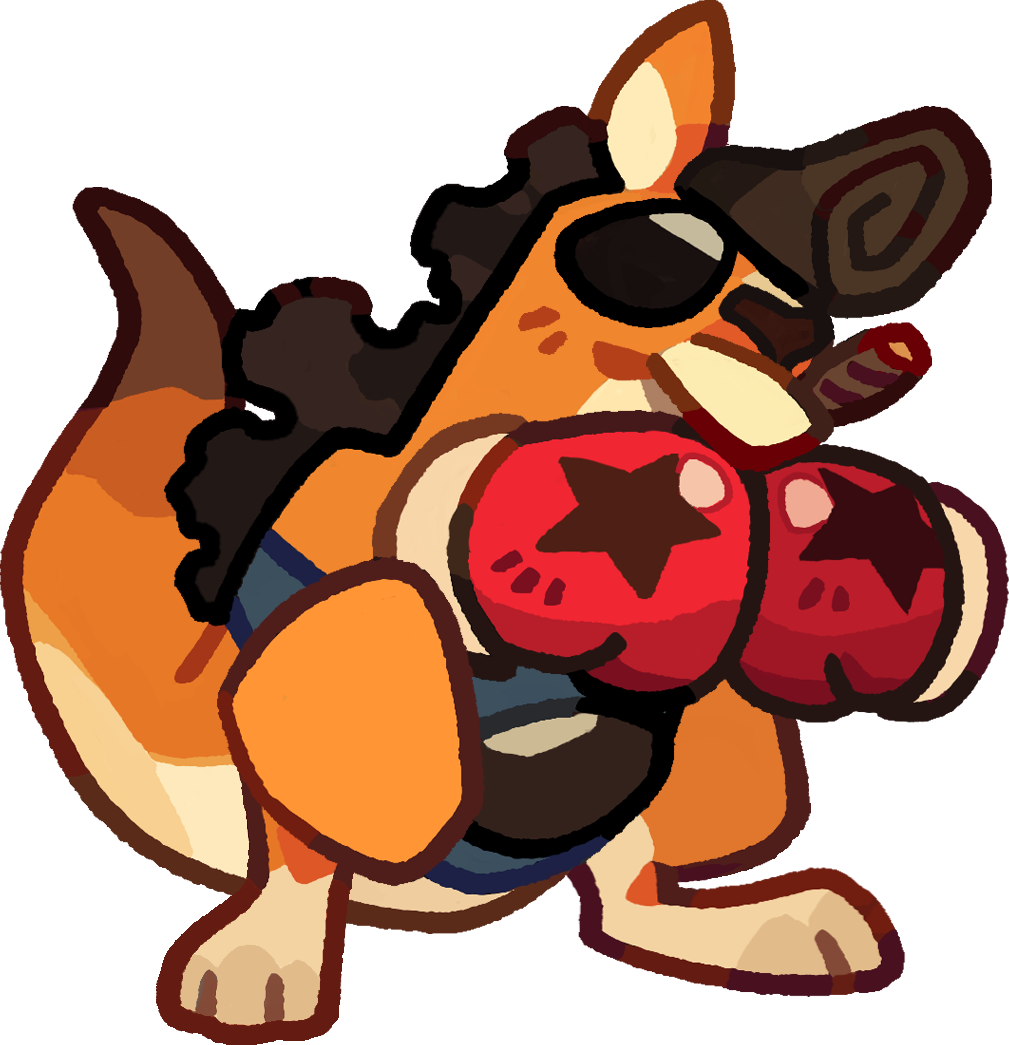 KangachampGuardian
Charged AoE punches and every fifth attack counting as fully charged can help a Horde setup, especially at Difficulty 2. Some Dojo formations also use it, but stronger all-purpose frontliners deserve priority before a new T3 investment.